Building Jmix Projects
Creating a Dockerfile for the Project 1
-
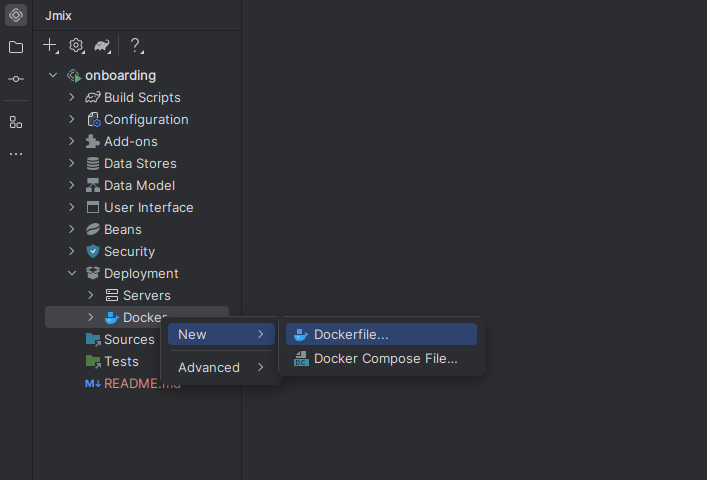
Go to the IntelliJ IDEA window and in the navigation pane select Deployment->Docker->New->Dockerfile
Image
-
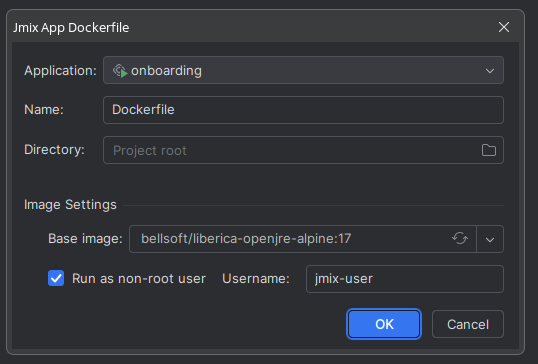
If necessary, set the Dockerfile creation parameters and click OK.
Image
-
Edit and save the Dockerfile if needed.
Creating a Repository and Connecting the Project 2 3
- Create a project using Jmix according to the official guide 4
- Create and configure a project on the GitFlic platform.
-
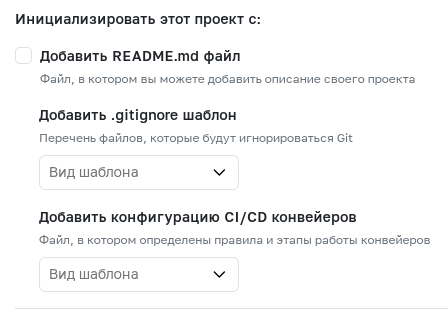
Leave the CI/CD template and .gitignore file fields empty. Jmix creates a .gitignore file with the necessary rules by default. We will add the CI/CD template later, after preparing and configuring the CI/CD agent.
Image
-
If necessary, configure the project collaboration rules.
- Open the IntelliJ IDEA terminal (Alt+F12 by default).
-
Run the command to initialize the repository.
git init . -
Connect the project to the local repository:
git remote add origin #Path to the project on gitflic, for example "https://gitflic.ru/project/superuser/onboarding.git" -
Add files to the repository index and create the first commit.
git add . git commit -m "Initial commit" -
Push the files to the project on GitFlic
git push origin master
Creating and Connecting the GitFlic Runner Agent
To use the jmix CI/CD template, you need an agent of type docker with the didEnable option enabled! 5
- Download the latest version of the GitFlic Runner agent from the official website
- Configure and register a docker-type agent or run the GitFlic Runner agent in a Docker container. Don't forget to set the
didEnableparameter totruein the agent's configuration file.
Creating a CI/CD Template and Building the Application
-
In the web interface of the project on GitFlic, go to the CI/CD tab and click create new template
Image

-
Select the Jmix project template by clicking Use on the corresponding card
Image

-
In the editor window, adjust the template if necessary. If building and publishing a Docker image is not required, completely remove the docker-build task.
-
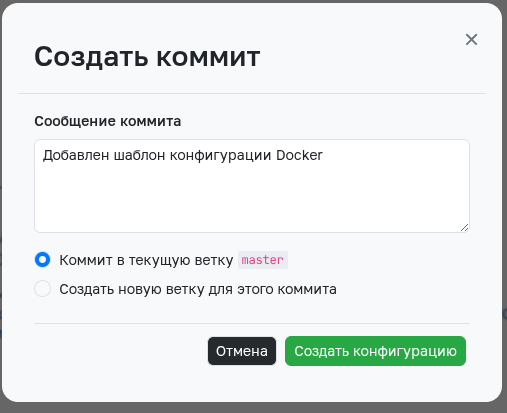
Click Create configuration and confirm the changes
Image
-
Go to the CI/CD tab in the project and make sure the pipeline was created and the agent started executing tasks
Image

-
After the pipeline completes successfully, go to the Container and Package Registry tab. The created Docker image with the application will be there.
Image

-
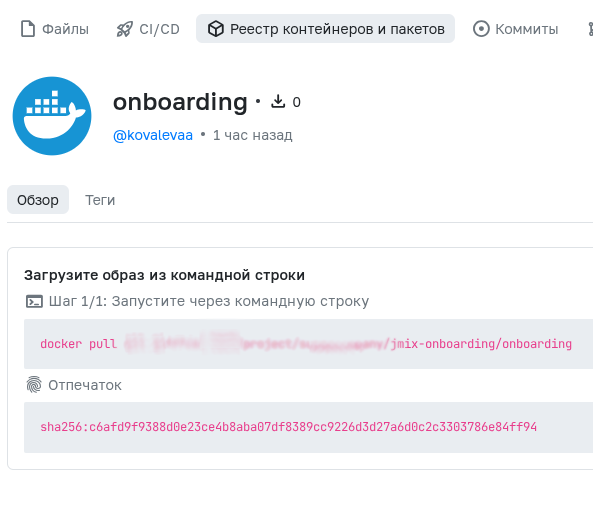
Click on the card with the created Docker image for more details
Image
-
Check the build correctness and application availability by running a Docker container from the created image
docker run --rm -ti #Link to the created image, for example registry.gitflic.ru/project/superuser/jmix-onboarding/onboarding:latest
Automated translation!
This page was translated using automatic translation tools. The text may contain inaccuracies.
-
If building and publishing a Docker image is not required and/or you already have a Dockerfile, skip this section. ↩
-
The onboarding starter repository from Jmix is used as an example. ↩
-
If you already have a repository, you can skip this section. ↩
-
If you already have a Jmix project, you can skip this step. ↩
-
The
didEnableoption is not available in cloud agents on gitflic.ru. It is recommended to use a self-hosted agent. To build using cloud agents, you need to modify the Docker image build task. ↩