Webhooks
Introduction
Webhooks allow you to create or configure integrations for your OAuth application that subscribe to specific events on GitFlic. When one of the designated events occurs, data is sent to the configured webhook URL. Webhooks can be used to update an external service, update a backup mirror, or even deploy to a production server. You can use webhooks in any way you see fit.
Creating a Webhook
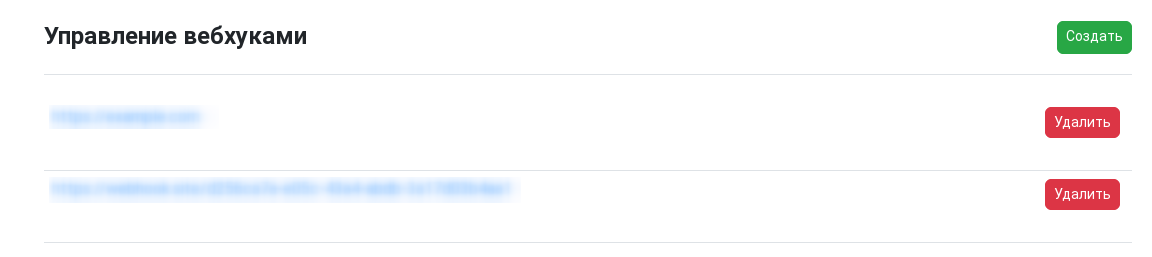
To create a new webhook, click the Create button.
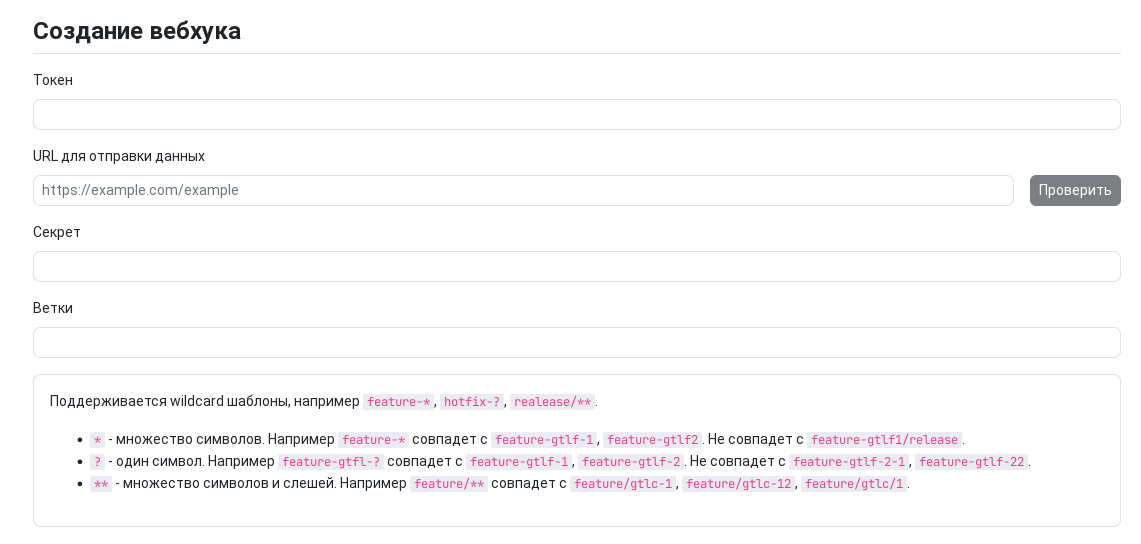
The URL for sending data field is required. Filling in other fields is optional. Next to the URL field, there is a Check button. It sends a test POST request to the specified URL and returns a response of 200 - Success or 404 - Client Error.
You can specify a webhook secret in the corresponding field. The secret is sent in the Gitflic-Webhook-Secret header. The token specified when creating the webhook is sent in the Authorization header.
The wildcard pattern field allows you to specify a list of branches. Patterns are separated by :. Webhooks for the following events will only be sent for the specified branches:
- Branch creation
- Branch update
- Tag creation
- Tag deletion
- New pipeline
- Successful pipeline
- Pipeline error
The following events are available for webhooks:
- Issue update
- Tag deletion
- Merge request discussion comment
- Member addition
- Merge request approval
- Branch update
- Member removal from project
- New issue creation
- Merge request cancellation
- Merge
- Member permission update
- Merge request discussions
- New pipeline
- Tag creation
- New merge request
- Merge request closure
- Pipeline error
- Branch deletion
- Merge request update
- Successful pipeline
- New issue comment
- Branch creation
After creating a webhook in the project, you can edit it to change the set of events, the URL for sending data, or any other information.
More detailed information about the contents of each event can be found here
Automated translation!
This page was translated using automatic translation tools. The text may contain inaccuracies.