SAML SSO Setup and Configuration
This feature is available in GitFlic Enterprise and Atlas.
Configuring SAML SSO in GitFlic
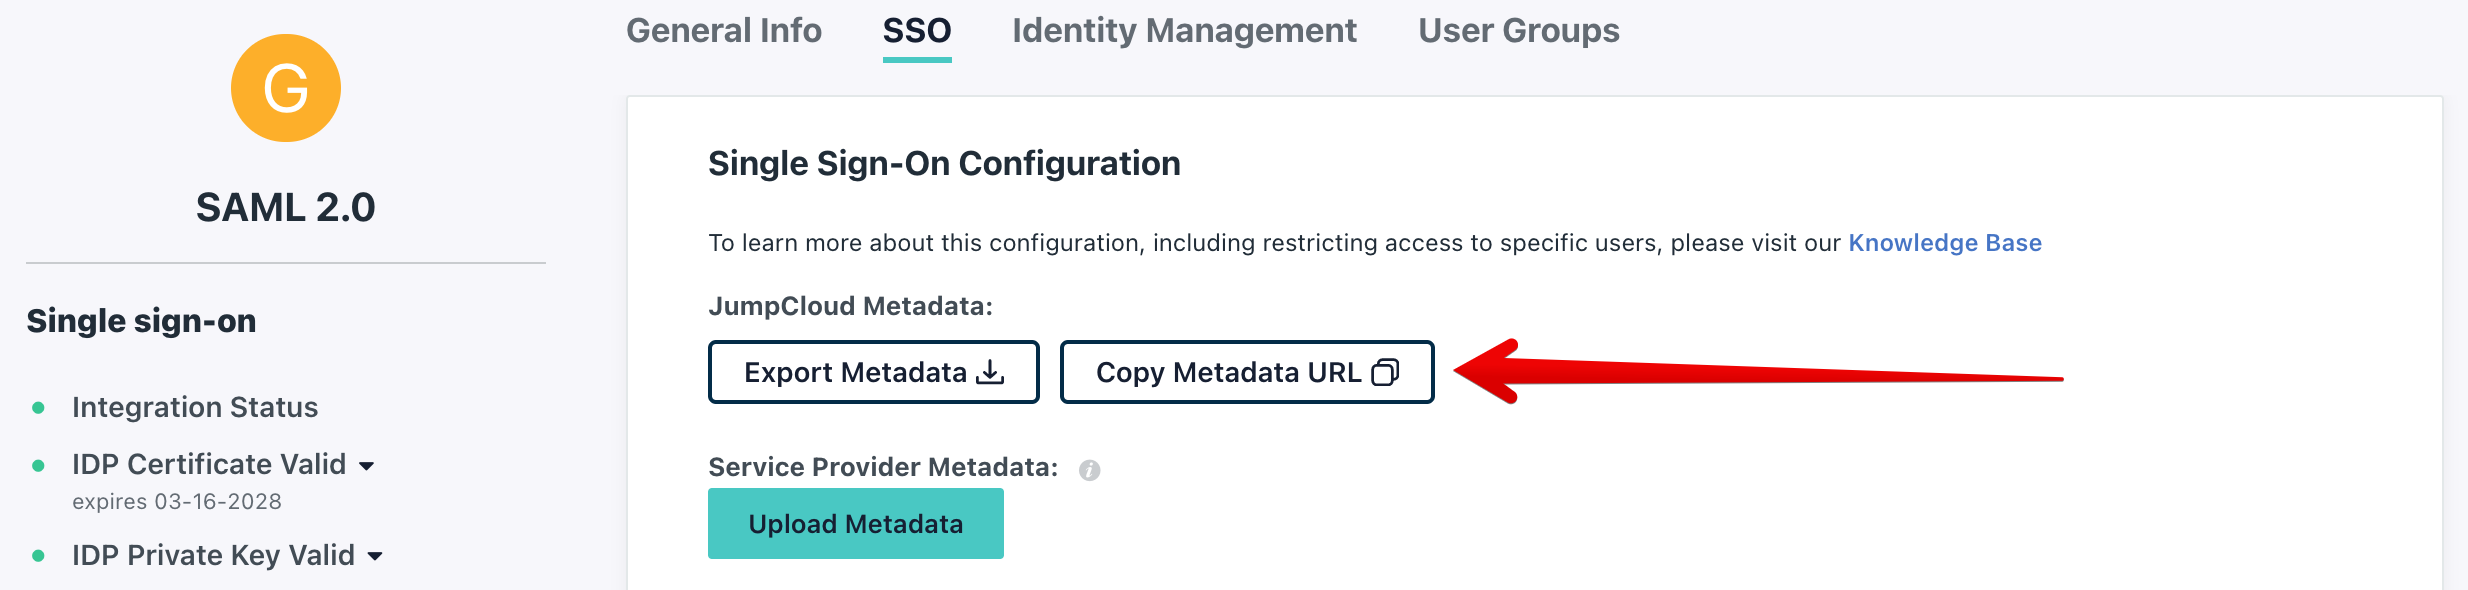
To access the settings, go to the admin panel and open the SSO Settings -> SAML SSO section.
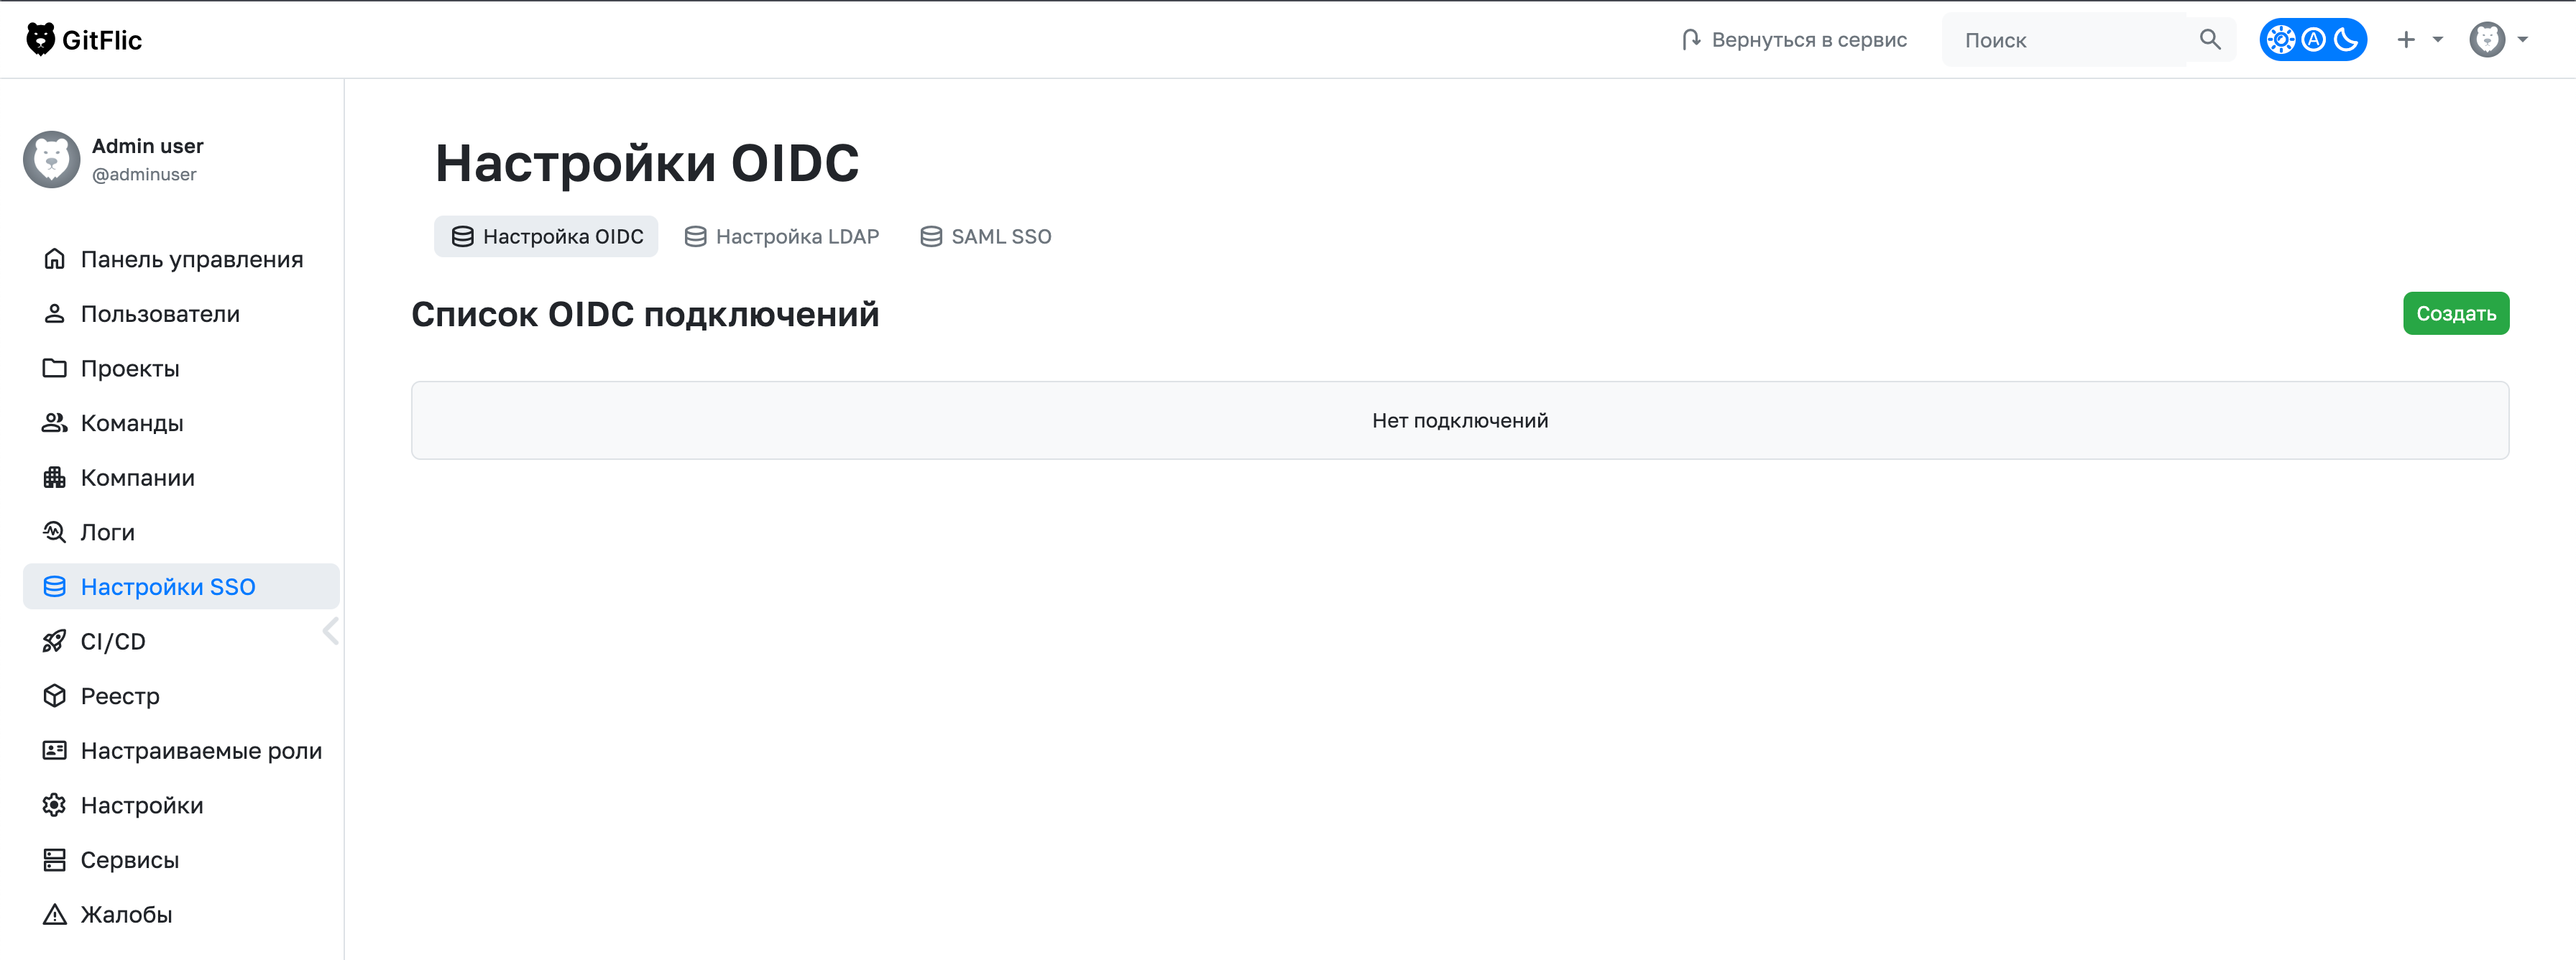
This section will display all existing connections. To create a new connection, click the Create button.
The screenshots of the authorization provider application settings are provided as examples. The field names of different providers have similar spelling or meaning.
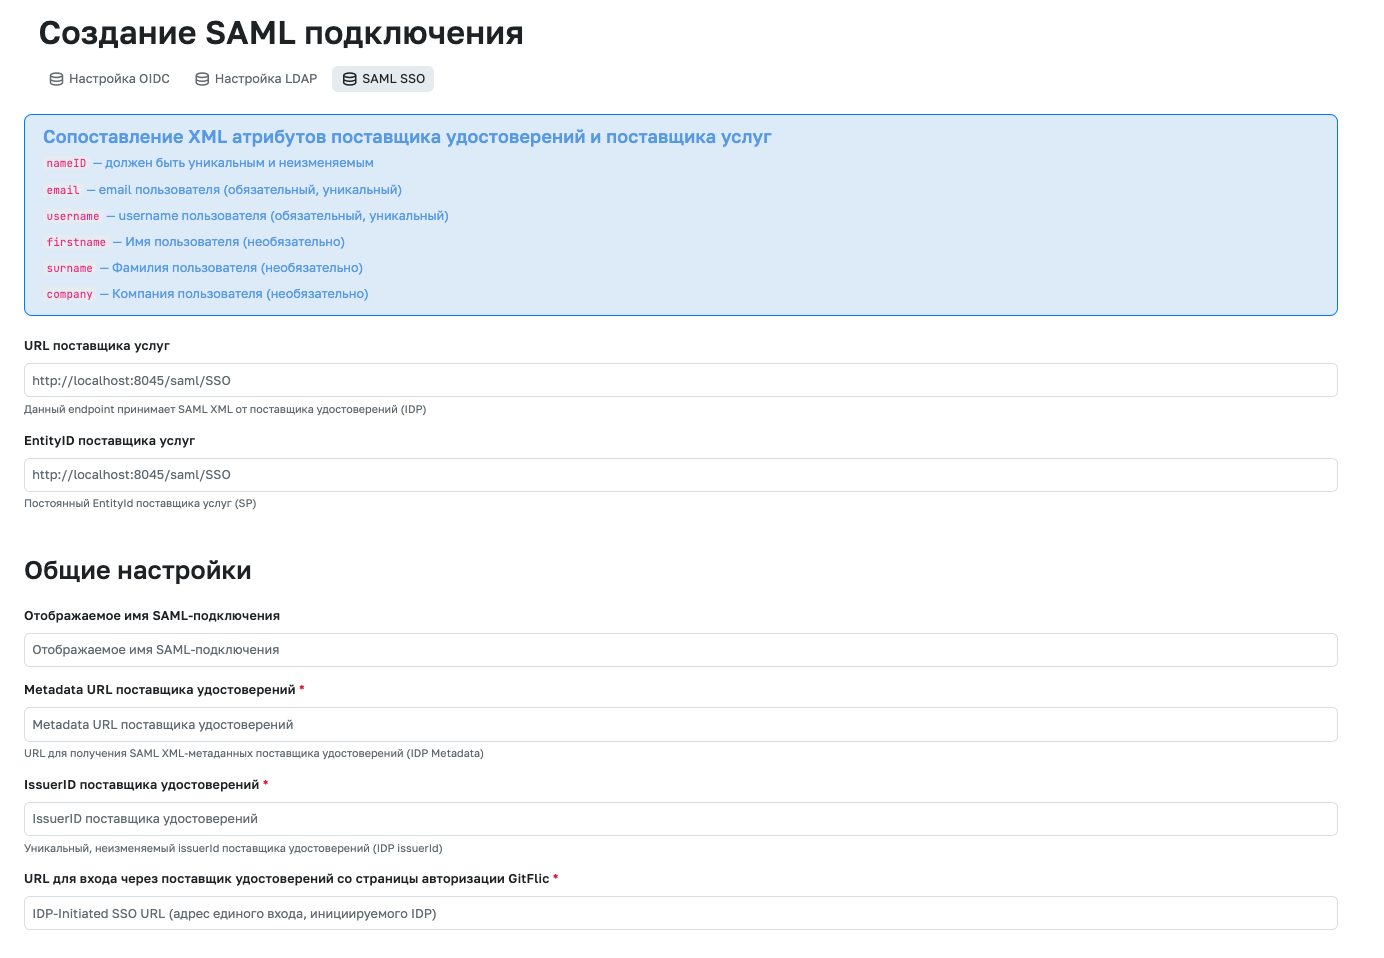
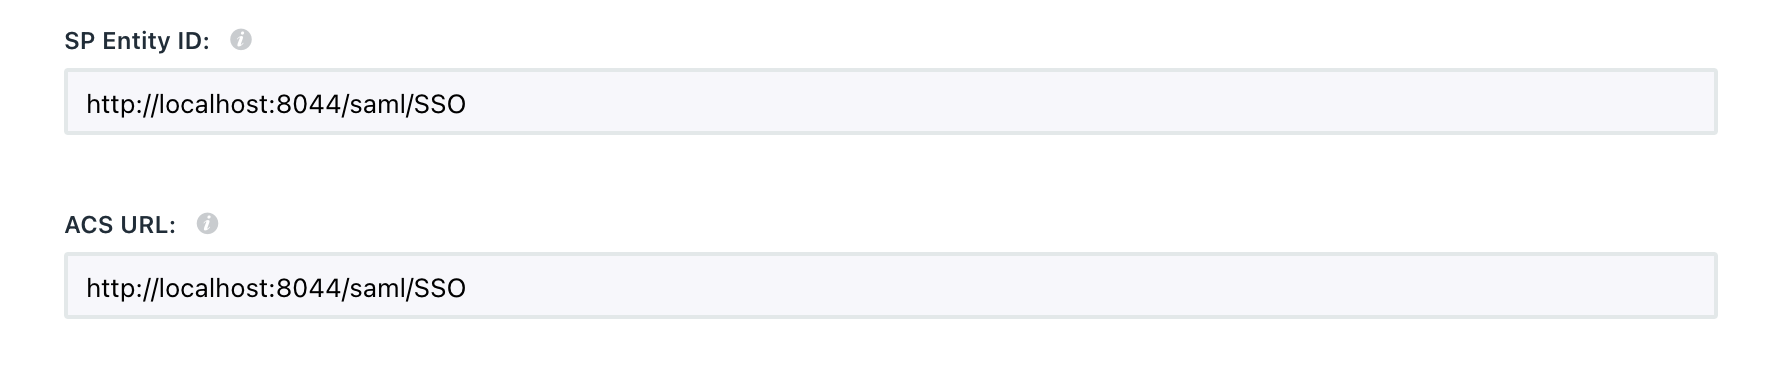
In your identity provider, create a new application for authorization. In its settings, specify the Service Provider URL and Service Provider EntityID as shown on the connection creation page in the GitFlic admin panel.
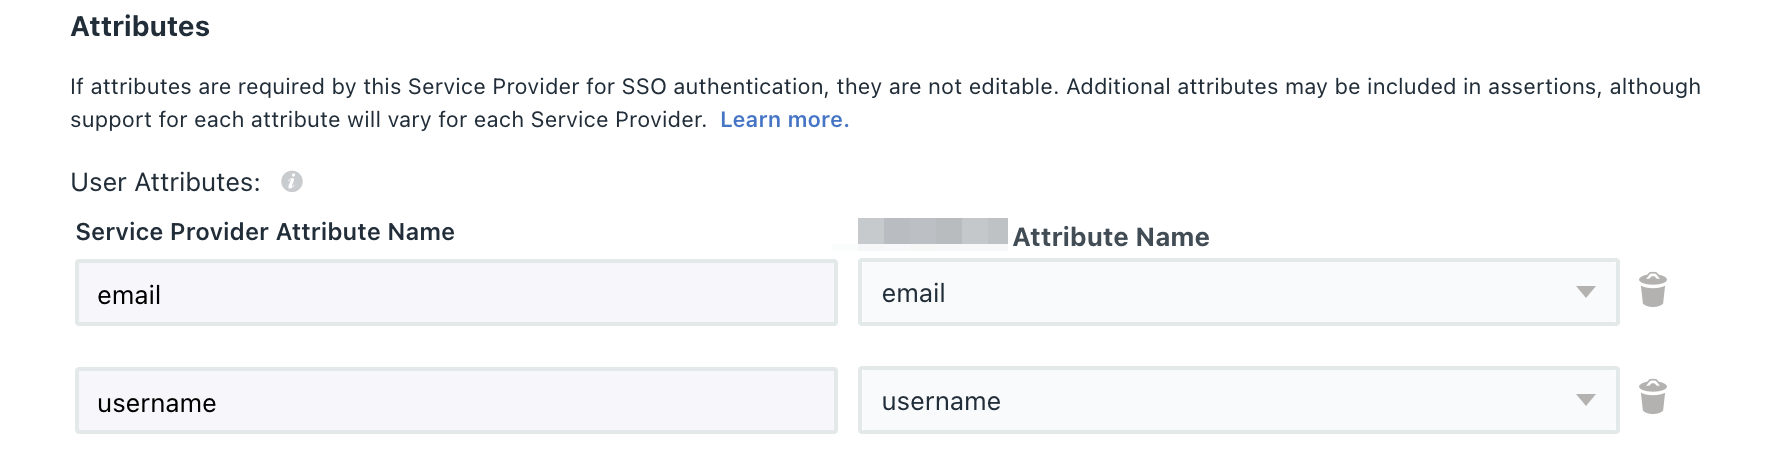
Next, in your identity provider settings, map the attribute fields to those specified on the connection creation page in GitFlic:
-
The SAML attribute
nameIDmust be unique and immutable -
email— the user's email (required, unique) -
username— the user's username (required, unique) -
firstname— the user's first name (optional) -
surname— the user's last name (optional)
Next, copy the "Identity Provider Metadata URL" and paste it into the corresponding field on the connection creation page.
The Identity Provider IssuerID can be either fixed and set by the provider or a field for manual entry. You must also specify it on the connection creation page.

In the certificate field, you must insert the x509 certificate of the identity provider (IDP certificate). The certificate is accepted in text format and is required to save the connection settings.
Starting from version 4.0.0, filling in the
certificatefield is not required.
After creating and saving the connection, perform a test authorization via your authorization provider.
Additional SAML-SSO Security Settings
Starting from version 4.0.0, you can enable additional verification of the SAML response signature and use encryption on the IDP side. By default, these options are disabled.
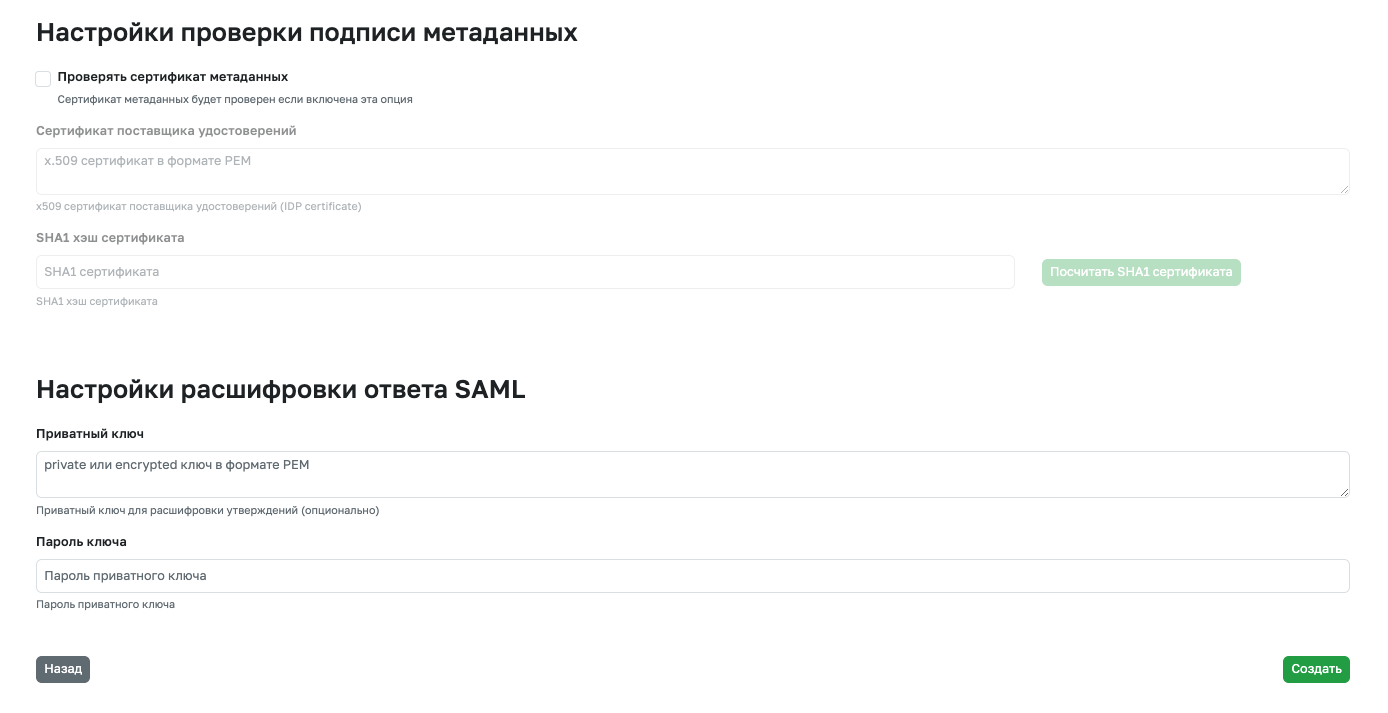
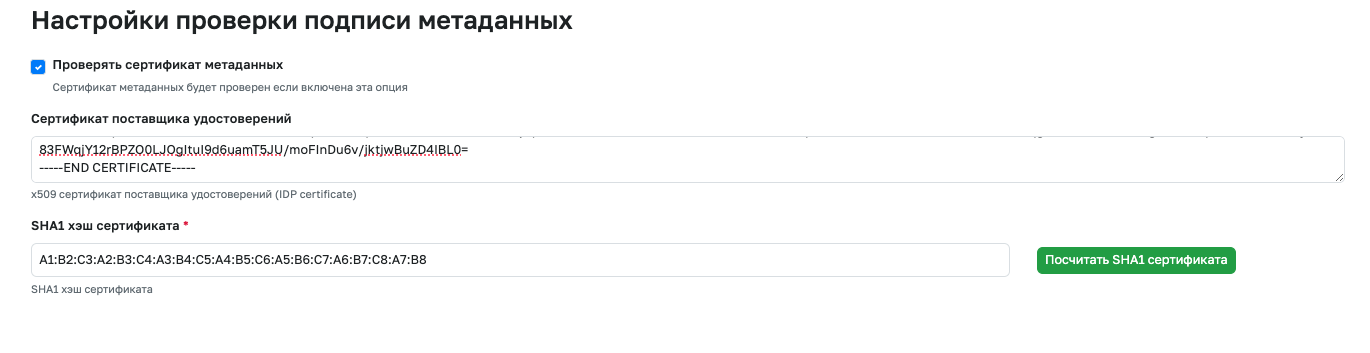
IDP Signature Verification
The signature in the SAML response can be additionally verified on the GitFlic side. Additional verification can enhance security when working with SAML-IDP. To do this, enable the Verify metadata certificate option and specify the SHA1 fingerprint of the IDP signature certificate.

If your SAML authentication provider does not provide a SHA-1 hash of the assertion signing certificate, specify the certificate in PEM format in the Identity Provider Certificate field and click the Calculate SHA-1 of certificate button.

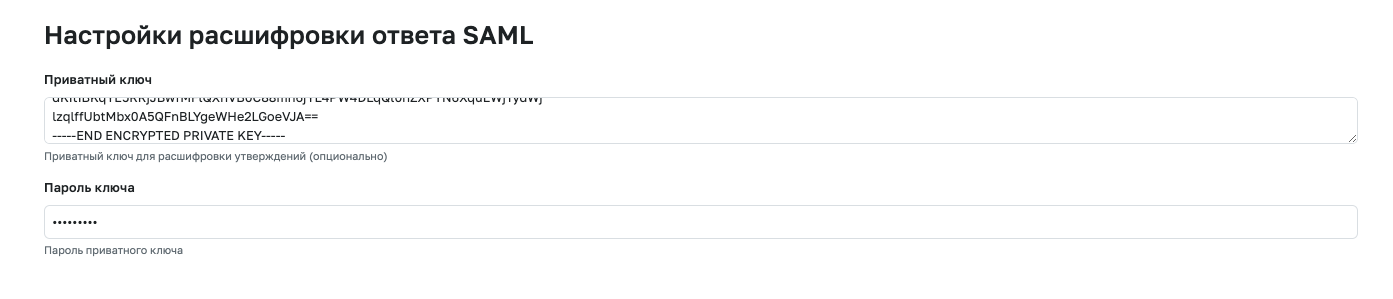
Configuring SAML Response Decryption
Starting from version 4.0.0, you can enable encryption of responses on the IDP side. To decrypt, add a private key and password (if required) to the connection settings.
Automated translation!
This page was translated using automatic translation tools. The text may contain inaccuracies.