Getting an Access Token
The access token provides the ability to interact with the GitFlic public API. You can obtain this token in two ways:
- Create a token via the web interface.
- Create a token using an Oauth application.
Creating a Token via the Interface
To create an access token via the interface:
- Go to your user profile.
- Navigate to the API tokens section.
- Click Create, specify the name, expiration date, and set of permissions.
A token created via the interface does not have a refresh function—its validity period cannot be extended using a refresh token, unlike a token created using an Oauth application.
You can also create such a token using the REST-API method, using Basic Authentication.
The set of access rights (scopes) for an authorization token may include the following values:
| Scope | Description |
|---|---|
USER_READ |
View user information |
USER_WRITE |
Edit user profile |
PROJECT_READ |
View user project information |
PROJECT_WRITE |
Create projects on behalf of the user |
PROJECT_EDIT |
Edit user's existing projects |
TEAM_READ |
View user team information |
TEAM_WRITE |
Create and modify teams |
COMPANY_READ |
View user company information |
COMPANY_WRITE |
Create and modify companies |
READ_REGISTRY |
Read from the package registry |
CREATE_PACKAGE |
Create and upload packages to the registry |
DELETE_PACKAGE |
Delete packages from the registry |
Creating a Token Using an Oauth Application
A token created using an Oauth application has a limited validity period—1 month. The validity can be renewed using a refresh token.
This method consists of two steps:
- obtaining a personal code
- obtaining the access token
Obtaining a Personal Code
You can obtain a personal code in two ways:
- via a GET request
- via a POST request using Basic auth
Obtaining a Personal Code via GET Request
To obtain a personal code, send a GET request to:
- for gitflic.ru:
https://oauth.gitflic.ru/oauth/authorize
- for Self-hosted:
localhost:8080/oauth/authorize
The domain and port for the self-hosted version may differ.
The request must include the following required parameters:
| Parameter | Type | Description |
|---|---|---|
scope |
Enum | List of granted permissions |
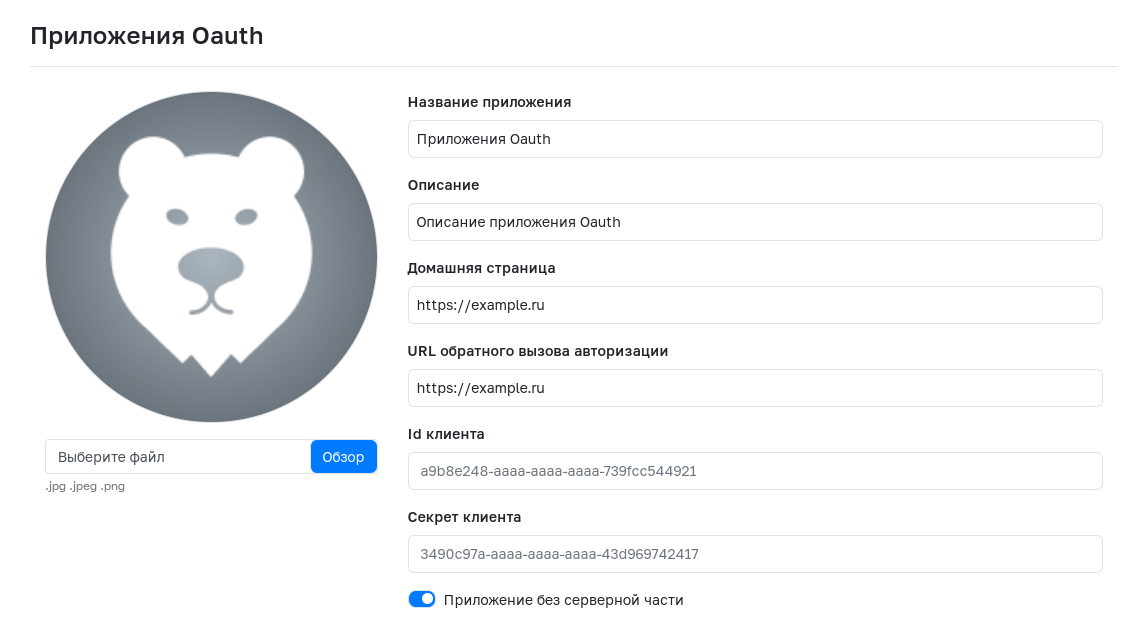
client_id or clientId |
String | Client ID, available in the Oauth application settings |
redirect_url or redirectUrl |
String | URL to redirect to after the request |
state |
String | Parameter identifying the end user |
You can find the clientID in the Oauth application settings.
The scope parameter can include the following permissions:
| Scope | Description |
|---|---|
USER_READ |
View user information |
USER_WRITE |
Edit user profile |
PROJECT_READ |
View user projects information |
PROJECT_WRITE |
Create projects on behalf of the user |
PROJECT_EDIT |
Edit existing user projects |
TEAM_READ |
View user teams information |
TEAM_WRITE |
Create and edit teams |
COMPANY_READ |
View user companies information |
COMPANY_WRITE |
Create and edit companies |
READ_REGISTRY |
Read from the package registry |
CREATE_PACKAGE |
Create and upload packages to the registry |
DELETE_PACKAGE |
Delete packages from the registry |
Example request:
https://oauth.gitflic.ru/oauth/authorize?scope=USER_READ,USER_WRITE&client_id=973d8a-aaaa-aaaa-aaaa-f29ba163bb53&redirect_url=https://example.org/&state=12345
Obtaining a Personal Code via POST Request with Basic Auth
This method is only available in self-hosted versions of GitFlic.
To obtain a personal code, send a POST request to:
localhost:8080/api/oauth/authorize
For the Authorization header, provide credentials encoded in base64 in Basic-auth format.
The request accepts 3 required parameters:
| Parameter | Type | Description |
|---|---|---|
scope |
Enum | List of granted permissions |
client_id |
String | Client ID, available in the Oauth application settings |
client_secret |
String | Client secret, available in the Oauth application settings |
The scope parameter can include the following permissions:
| Scope | Description |
|---|---|
USER_READ |
View user information |
USER_WRITE |
Edit user profile |
PROJECT_READ |
View user projects information |
PROJECT_WRITE |
Create projects on behalf of the user |
PROJECT_EDIT |
Edit existing user projects |
TEAM_READ |
View user teams information |
TEAM_WRITE |
Create and edit teams |
COMPANY_READ |
View user companies information |
COMPANY_WRITE |
Create and edit companies |
READ_REGISTRY |
Read from the package registry |
CREATE_PACKAGE |
Create and upload packages to the registry |
DELETE_PACKAGE |
Delete packages from the registry |
Example request:
POST localhost:8080/oauth/authorize?scope=USER_READ,USER_WRITE&client_id=973d8a-aaaa-aaaa-aaaa-f29ba163bb53&client_secret=dc2da15d-aaaa-aaaa-aaaa-d5d04c4fb325
Receiving JSON on Authorization Callback
A JSON object with the following structure will be sent to the authorization callback URL redirect_url or as a response (depending on the method of obtaining the personal code):
| Field | Type | Description |
|---|---|---|
code |
String | Personal code |
state |
String | Parameter identifying the end user |
Obtaining an Access Token
After successfully obtaining the personal code, you can get the access token:
To obtain the access token, send a GET request:
- for gitflic.ru:
https://oauth.gitflic.ru/api/token/access?code=<code>
- for Self-hosted:
http://localhost:8080/api/token/access?code=<code>
codeis the personal code from the previous steps.
Example request:
https://oauth.gitflic.ru/api/token/access?code=e462eb8c-aaaa-aaaa-aaaa-d12cba0cb852
The response will be a JSON object with the following structure:
| Field | Type | Description |
|---|---|---|
accessToken |
String | API access token |
refreshToken |
String | Token to obtain a new access token |
expires |
String | Access token expiration date |
Example JSON response:
{
    "accessToken": "868f3765-aaaa-aaaa-aaaa-13faw8a3ca68",
    "refreshToken": "cb4917e7-aaaa-aaaa-aaaa-9bb604b42e0c",
    "expires": "2023-01-12T15:45:01.961001"
}
Refreshing the Access Token via refreshToken
The obtained access token will expire after the period specified in the expires field. To get a new accessToken, use the token from the refreshToken field:
Send a POST request with the refreshToken in the body:
- for gitflic.ru:
https://oauth.gitflic.ru/api/token/refresh
- for Self-hosted:
http://localhost:8080/api/token/refresh
The response will be a JSON object similar to the access token response.
Using the access token
To interact with the GitFlic public API, specify the obtained access token in the request header as follows:
Authorization: token <accessToken>
Automated translation!
This page was translated using automatic translation tools. The text may contain inaccuracies.