Setting Up Blitz Oauth Connection
This article is an example of configuring an OIDC connection.
This guide is suitable for the Enterprise version. Tested on Blitz Identity Provider version 5.28.4.19282.
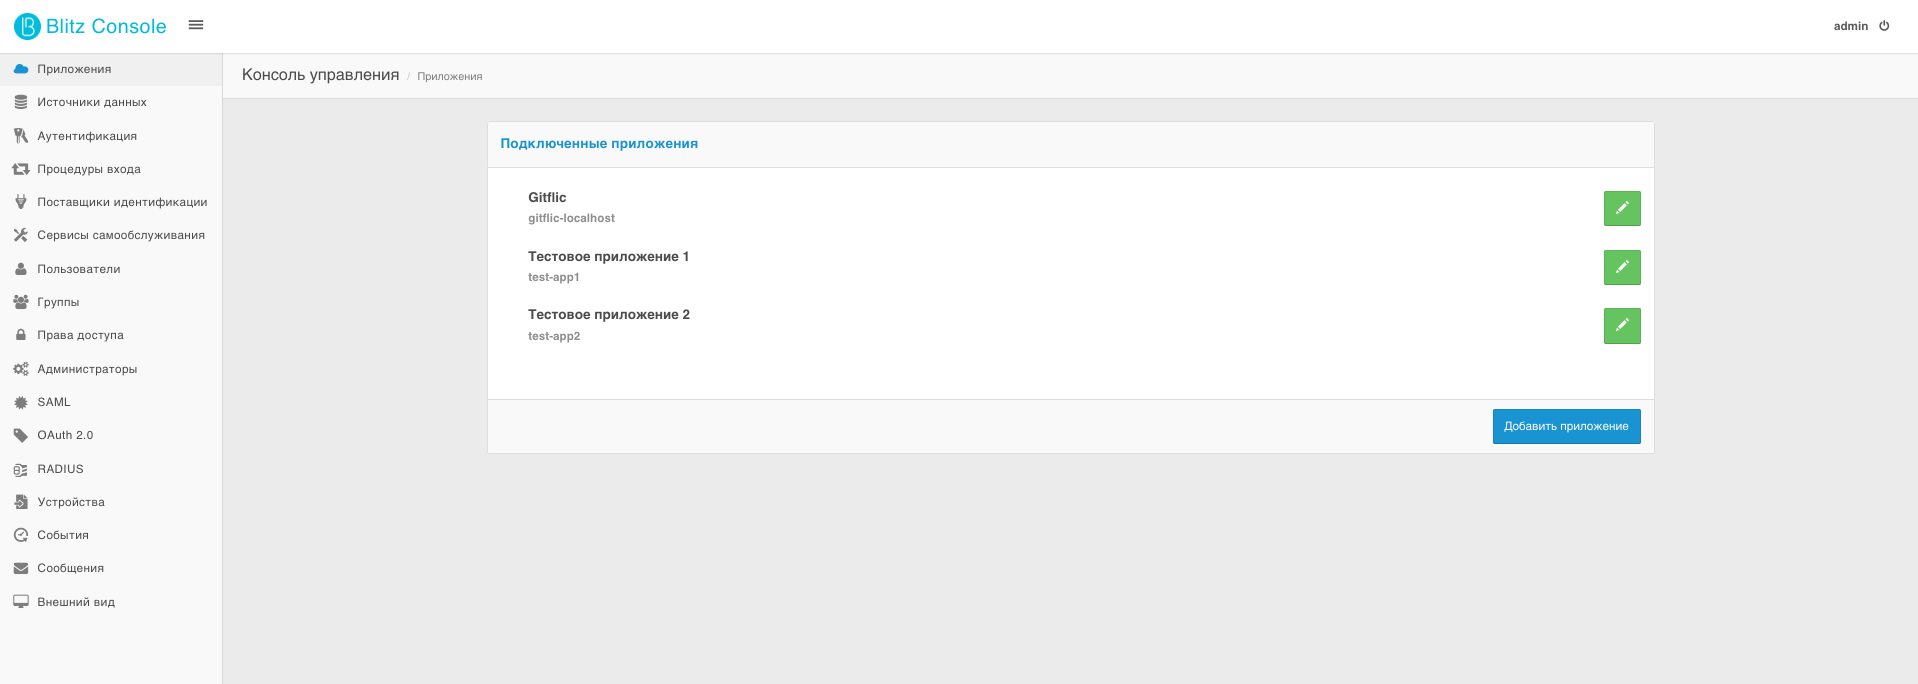
Before configuring the connection, you need to set up an Oauth client on the Blitz Identity Provider side. To do this, create an application for connecting to GitFlic. Select the Applications section in the Blitz management console and click the Create Application button.
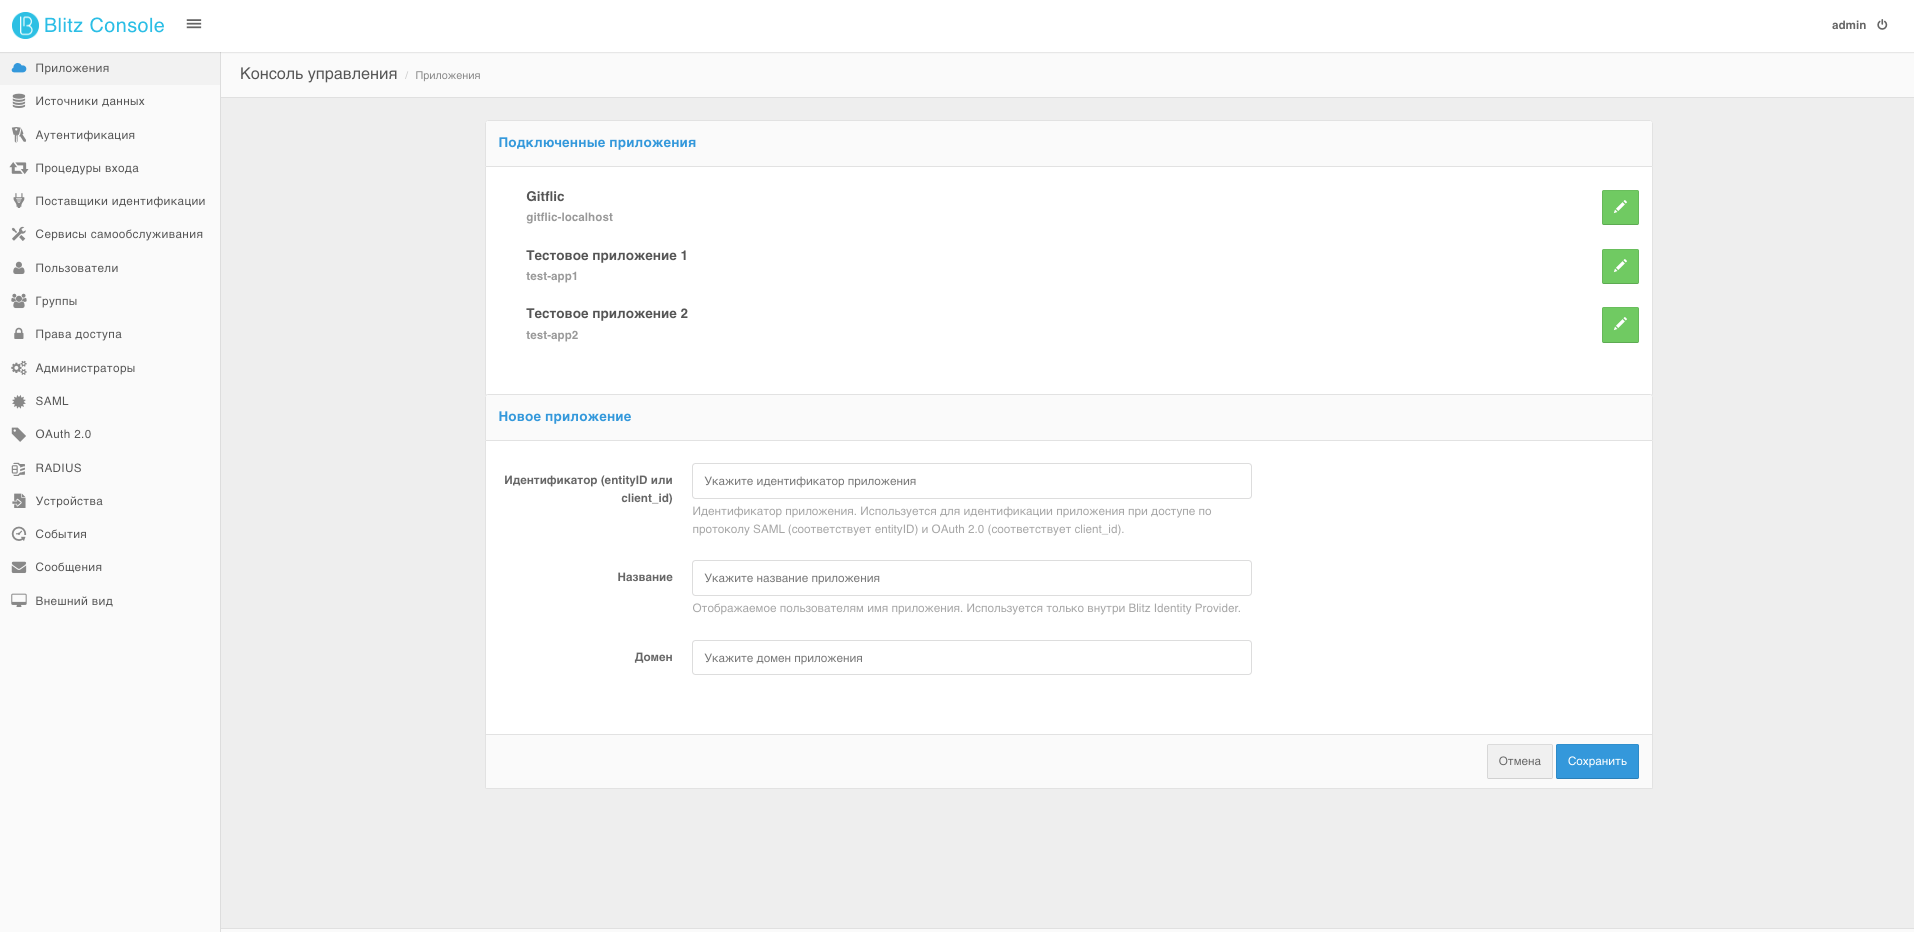
In the area that appears, enter the identifier (which will later be used as the client_id), the client name, and the domain—the start page for redirection after successful authentication.
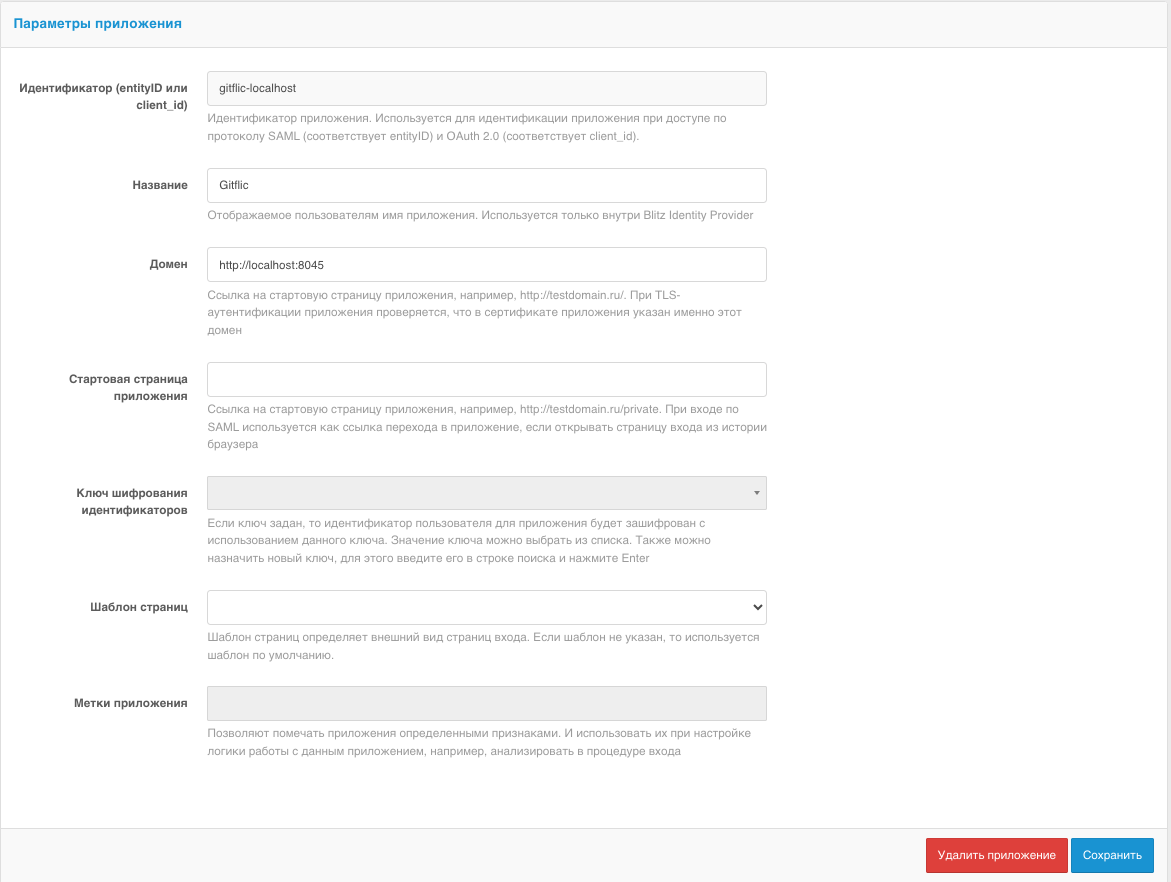
After clicking the Save button, the new connection will appear in the list. For proper operation with GitFlic, select the edit button to continue configuration. The connection editing page will open:
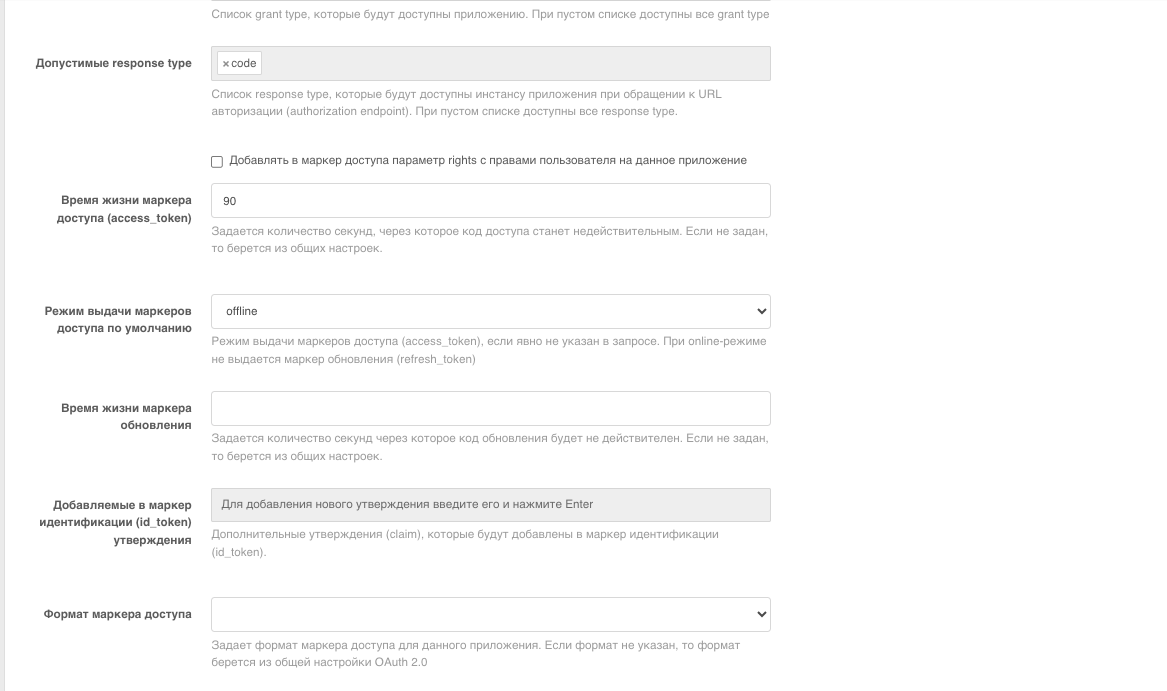
Save the client_id value and the client_secret field value for further configuration in GitFlic. Set the Default return link value as the GitFlic URL + /oidc/callback. Specify the return link prefix as the GitFlic URL. Set Allowed permissions and Default permissions as shown in the screenshot below. Also, set the Authentication method when accessing the token issuance service to client secret post.
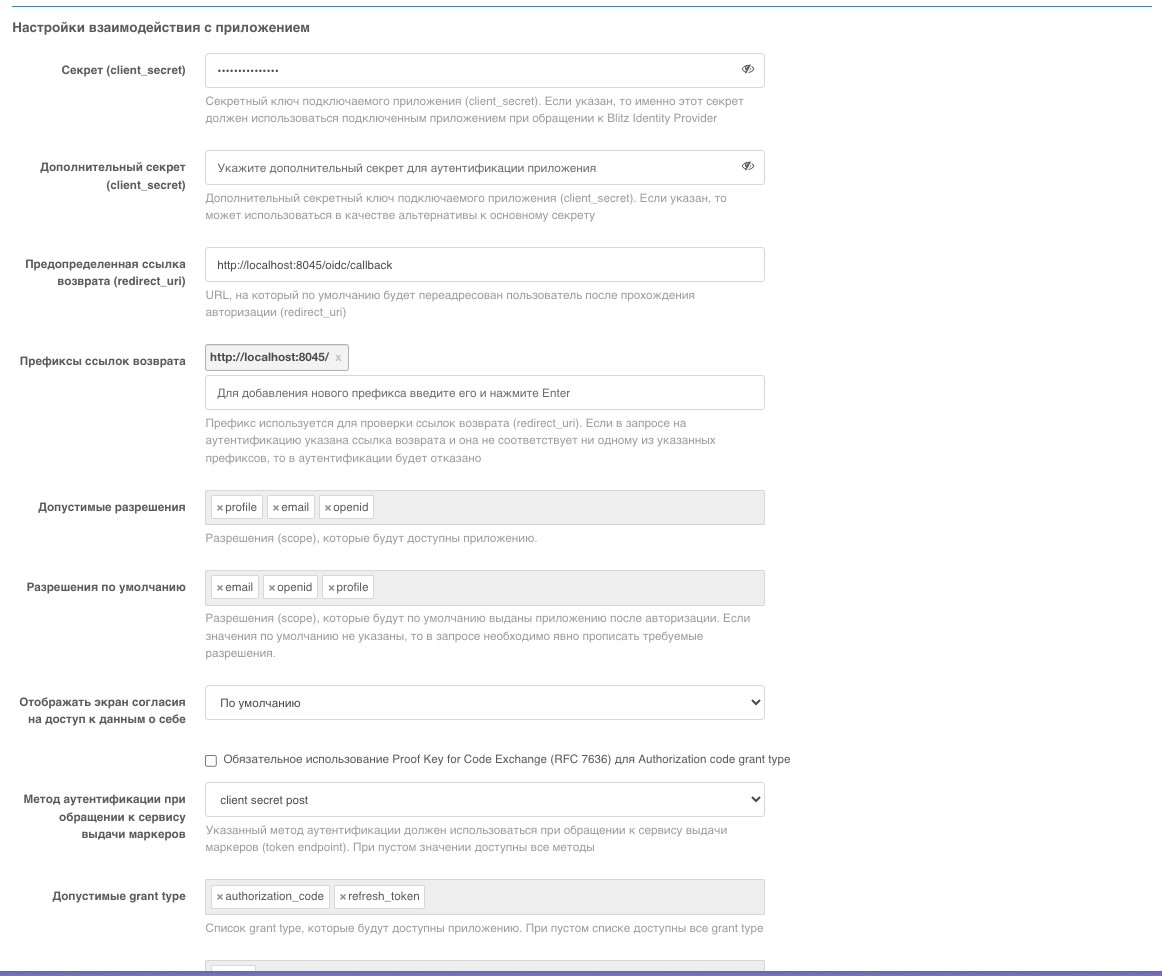
For proper synchronization of user data, set the Default access token issuance mode to offline.
Next, go to the Data Sources section and add a new computed attribute. You can specify a value or a combination of values that will be used in GitFlic as the users' username.
Important! It is recommended to specify a unique and immutable attribute/combination of attributes, as the GitFlic username must be unique.
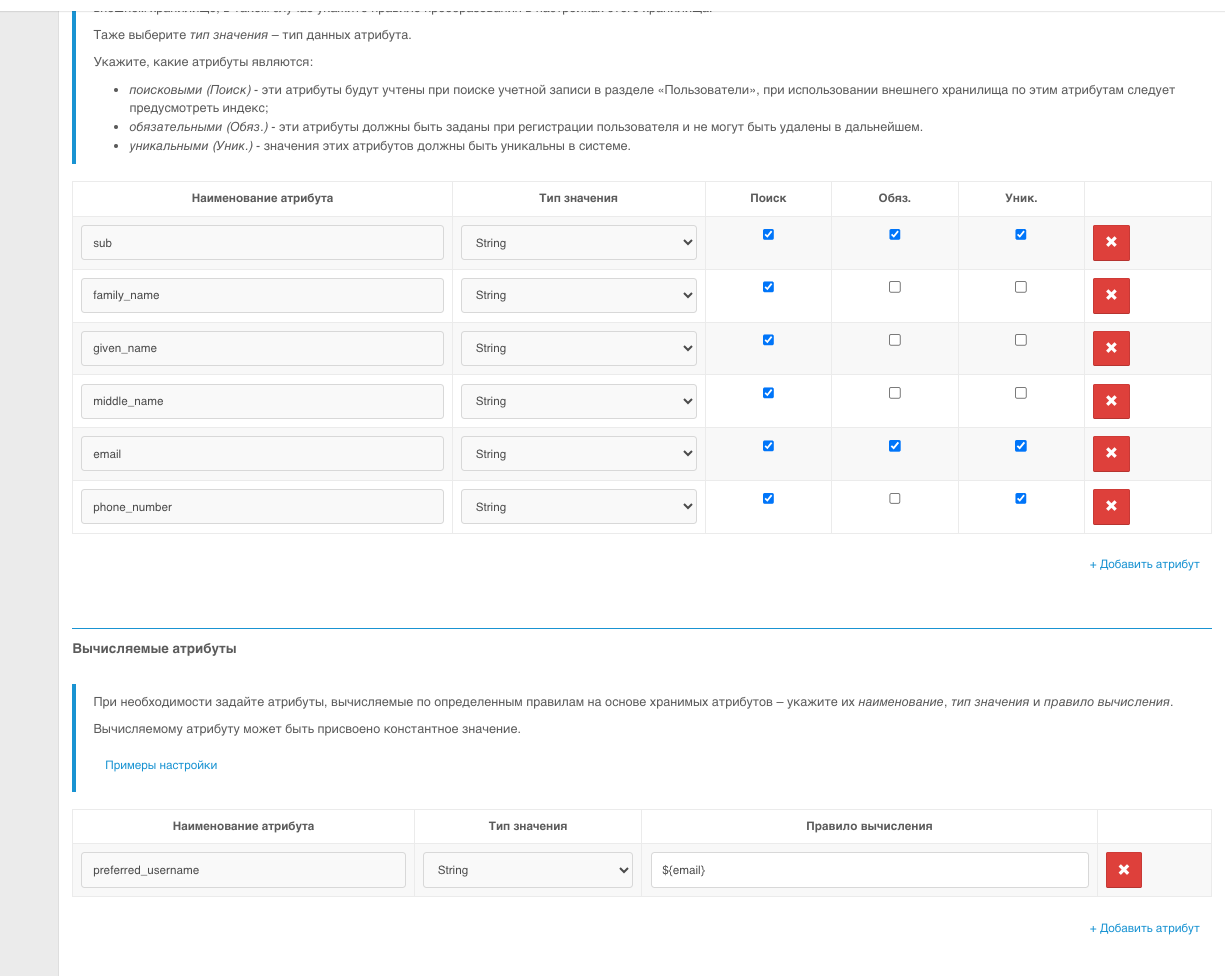
Then go to the Oauth 2.0 section and add preferred_username to the user's profile data:

After saving all changes, you need to add Blitz Identity Provider as an authentication provider in GitFlic. To do this, you can use this guide.
Automated translation!
This page was translated using automatic translation tools. The text may contain inaccuracies.