Configuring SAML SSO Connection with KeyCloak
This article is an example of basic SAML SSO connection setup and may help beginners.
This guide is suitable for the Enterprise version. Tested on KeyCloak version 23.0.4.
Prerequisites
KeyCloak is fully configured and operational, and the user database is populated.
Configuring the Connection in GitFlic
To set up the connection between GitFlic and KeyCloak, you need to specify configuration data from your identity provider in Admin Panel > SSO Settings > SAML SSO > Create (Edit).
The Identity Provider Metadata URL can be found in Realm Setting under Endpoints.
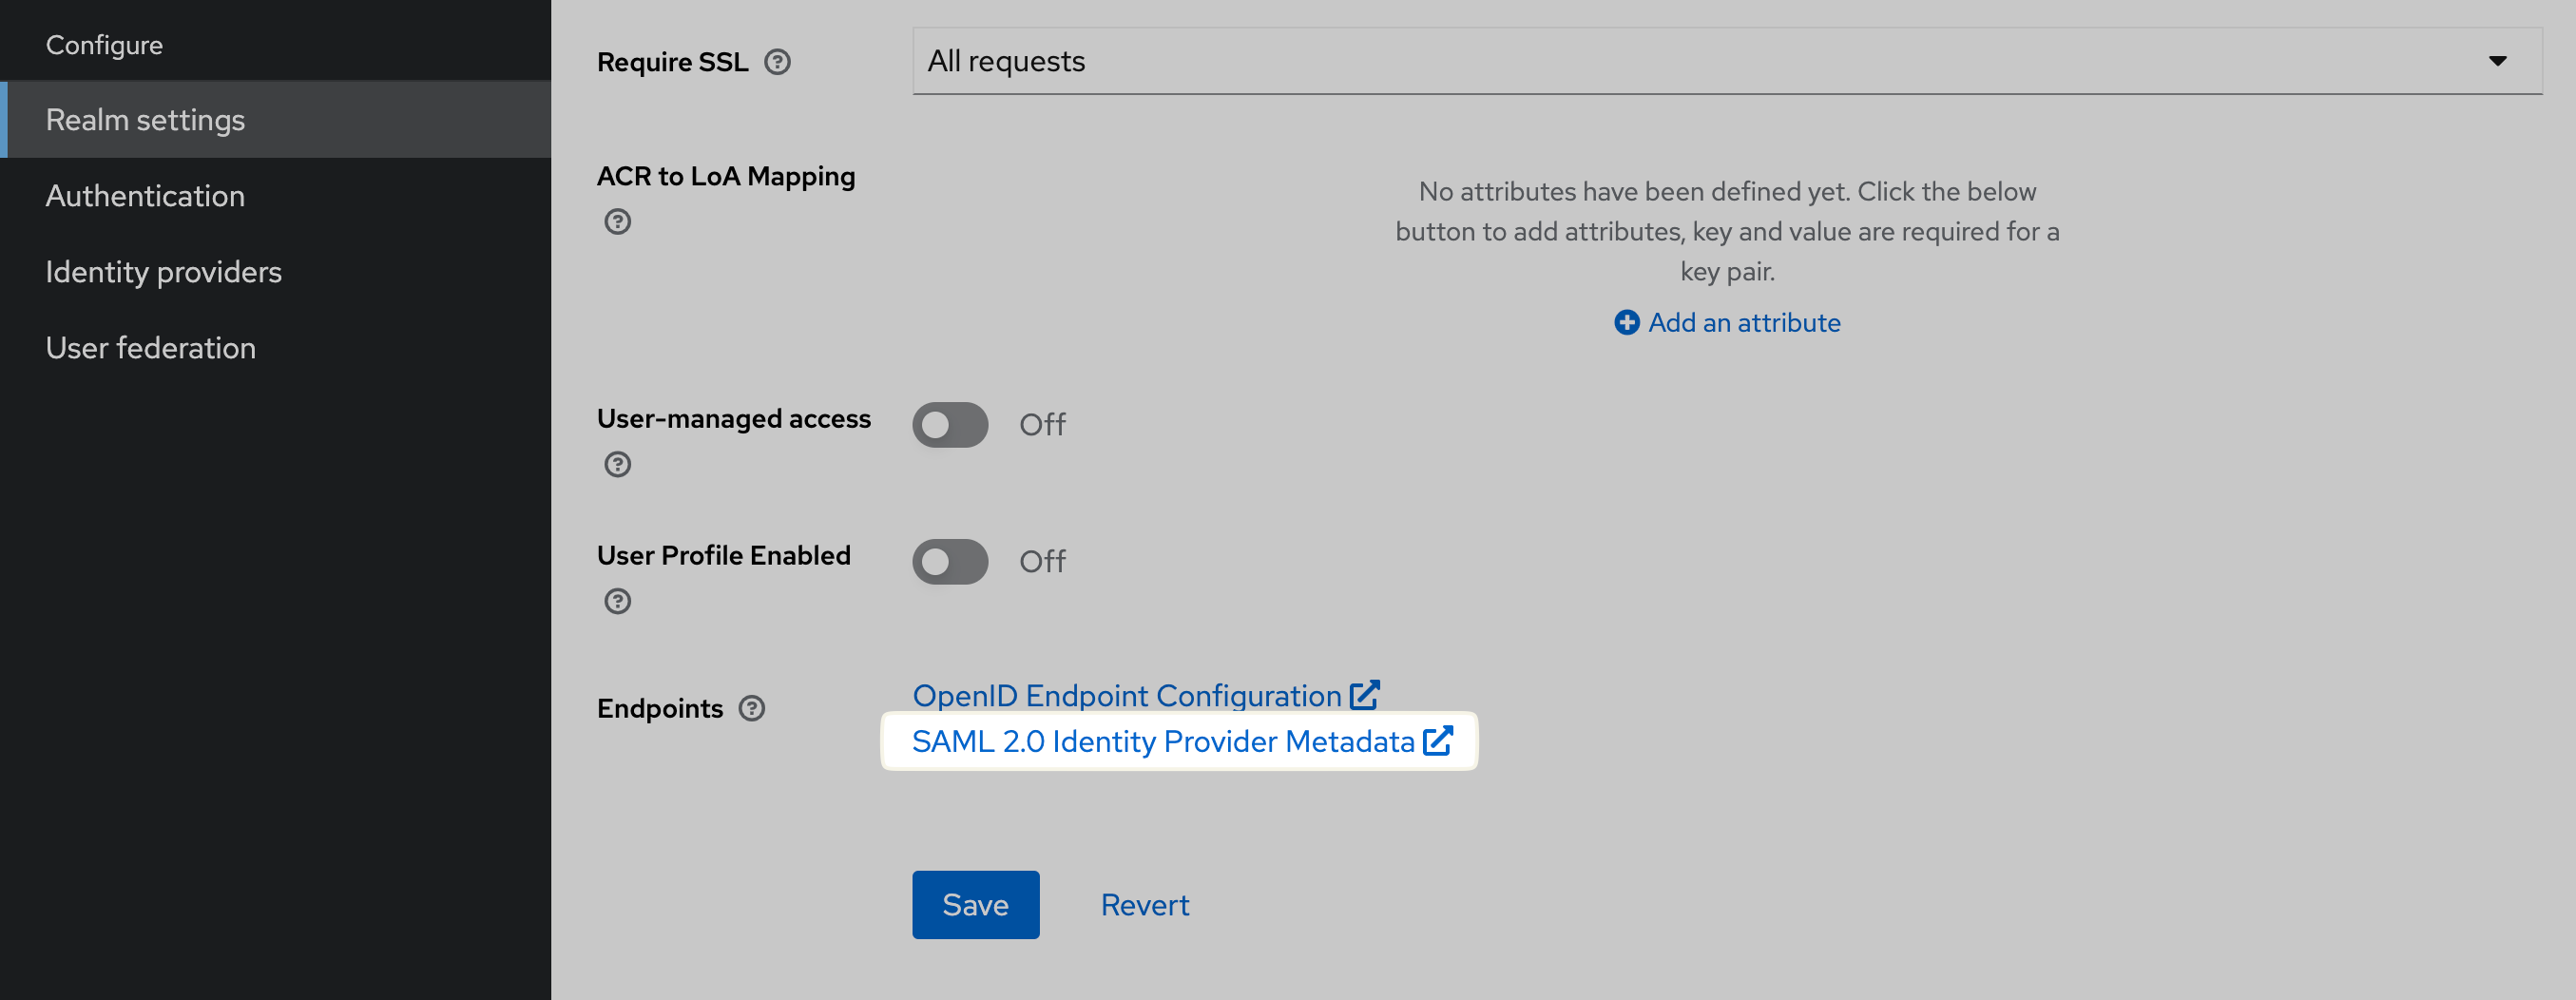
For the Identity Provider IssuerID in KeyCloak, use the entityID. You can find its value at the endpoint from the Metadata URL, in the entityID tag. The IssuerID is a URL.
The value for the field URL for login via identity provider from the GitFlic authorization page should be constructed based on your KeyCloak configuration. The identity provider offers the following form for the login URL: {server-root}/realms/{realm}/protocol/saml/clients/{client-url-name}, where:
{server-root}- base KeyCloak URL;{realm}- environment name (specified in the menu selector);{client-url-name}- value specified in the client settings field.
Configuring the Connection in KeyCloak
To enable the login button on the GitFlic authorization page, you need to fill in the IDP-Initiated SSO URL name field, specifying a name for the login link via KeyCloak.
In the created Client for working with GitFlic, you need to map attributes for correct connection operation. To do this, go to the "Client scopes" tab and in the table, go to the mapper configurator corresponding to the GitFlic connection. Next, create Add mapper > By configuration > User Property or edit existing mapper. The attributes required for mapping with GitFlic match the names of KeyCloak's SAML Attribute Name. The fields Name, Property, Friendly Name, SAML Attribute Name can be filled with the required attribute value.
Below are all the attributes accepted by GitFlic:
- nameID — mapped via the predefined mapper
Add mapper>By predefined mapper>nameID(required, unique) - email — user's email (required, unique)
- username — user's username (required, unique)
- firstname — user's first name (optional)
- surname — user's surname (optional)
- company — user's company (optional)
Adding Certificates for Request Signing
To configure the connection with request signing, you need to download the certificate from the connection settings and perform a series of transformations for further use. The final goal is to save the key fingerprint in the SAML settings in GitFlic.
SAML Response Decryption Settings
In the KeyCloak client settings, you need to export the private key in .jks format and record all additional data during export.
Next, you need to convert the exported key to .pem format via the intermediate .p12 format. To do this, use the following commands (read more about conversion here):
Convert the key to .p12 format
keytool -importkeystore -srckeystore keystore.jks \
    -destkeystore keystore.p12 \
    -srcstoretype jks \
    -deststoretype pkcs12
Convert the key to .pem format
openssl pkcs12 -in keystore.p12 -out keystore.pem
Read the key in .pem format
cat path/to/keystore.pem
After this, copy the private key and use it in GitFlic. Enter the password for this key in the appropriate field and save the settings.
Automated translation!
This page was translated using automatic translation tools. The text may contain inaccuracies.