Creating Integration with Jenkins Service Using Custom Scripts
Custom scripts are available only in the Self-hosted version
There are two ways to work with Jenkins, which can be used separately or together:
- Trigger Jenkins jobs by an event in GitFlic (or another trigger)
- Create “mirrored” pipelines from Jenkins in GitFlic
Triggering Jobs by Events
In this type of integration, Jenkins jobs are triggered by GitFlic events using the Jenkins REST API.
Setup
Integration is done using the Jenkins REST API. To work with it, refer to the Jenkins documentation: https://www.jenkins.io/doc/book/using/remote-access-api/
In the settings of the Item you want to manage, enable Trigger builds remotely (e.g., from scripts) and specify the name (not the content) of the Jenkins REST API token you want to associate with this Item.
Next, you need to create variables for the script. Go to the project’s “Scripts” tab, then to the variables tab.
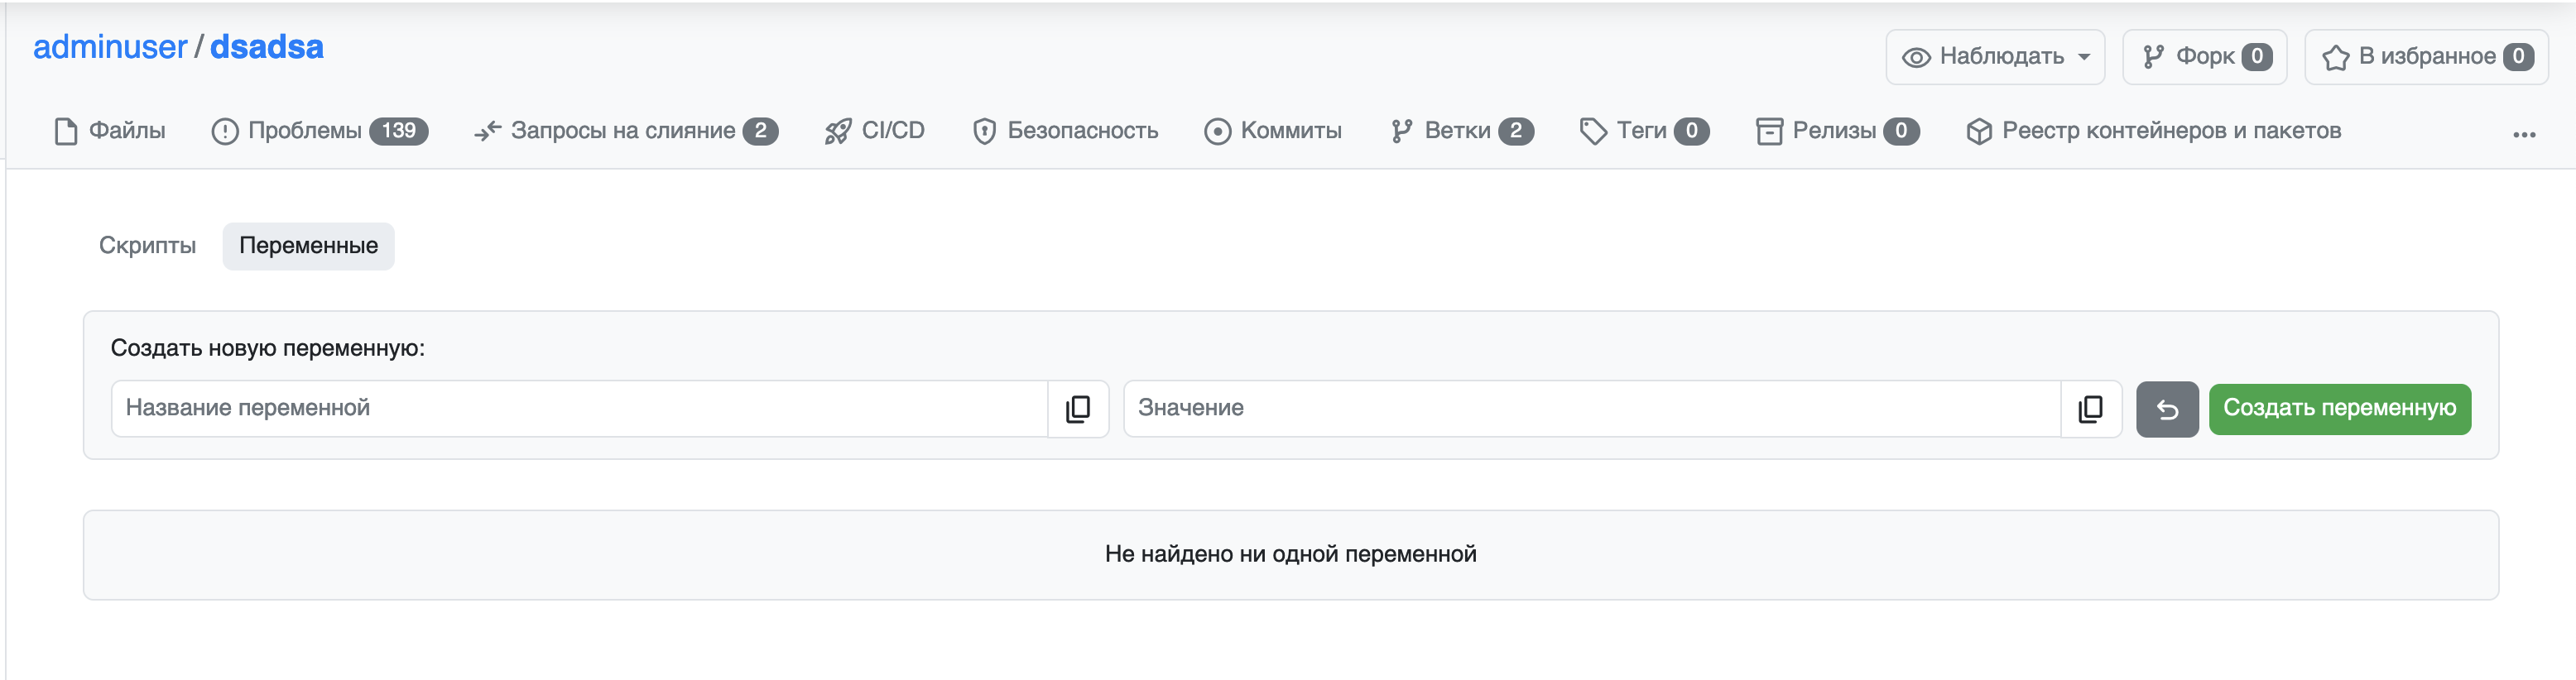
You need to create the following variables:
JENKINS_BASE_URL - base path to Jenkins
JENKINS_JOB_NAME - name of the job to run
JENKINS_TOKEN_NAME - name of the Jenkins REST API token
JENKINS_TOKEN - Jenkins REST API token
JENKINS_BASIC_AUTH_BASE64 - Jenkins REST API basic authentication
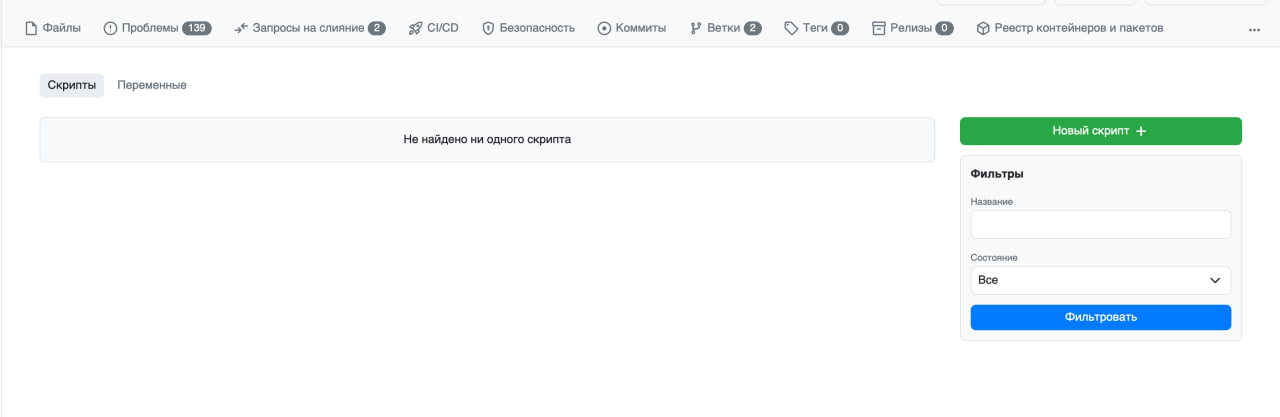
Create a script. To do this, go to the project’s “Scripts” tab and click “New Script +”
As a test setup, you can use the following code:
const url = '${JENKINS_BASE_URL}/job/${JENKINS_JOB_NAME}/build?token=${JENKINS_TOKEN_NAME}'
req = http.post(url, {}, { headers: { "Authorization": `Basic ${JENKINS_BASIC_AUTH_BASE64}` } });

console.log(JSON.stringify(req))
req.code
Specify all the variables you created earlier.
You can set any triggers; for debugging, we recommend using the BRANCH_UPDATE (push) event.
When you update a branch in your project, the script will trigger the Item in Jenkins:
Creating “Mirrored” Pipelines
With this integration option, pipelines started in Jenkins will be displayed in GitFlic on the CI/CD page, but will not be executed by agents. In this case, when a pipeline is started in Jenkins, a “blank” pipeline (which is not processed by runners and has no execution logs) is created in GitFlic, and upon completion in Jenkins, the status is updated in GitFlic. After execution, stages and their statuses, as well as the Jenkins pipeline execution time, are also displayed.
As a result, GitFlic only displays information about pipelines that are actually executed in Jenkins.
Setup
GitFlic Setup
First, you need to create a script that will handle requests from Jenkins. To do this, go to the “Scripts” tab and click the “New Script” button.
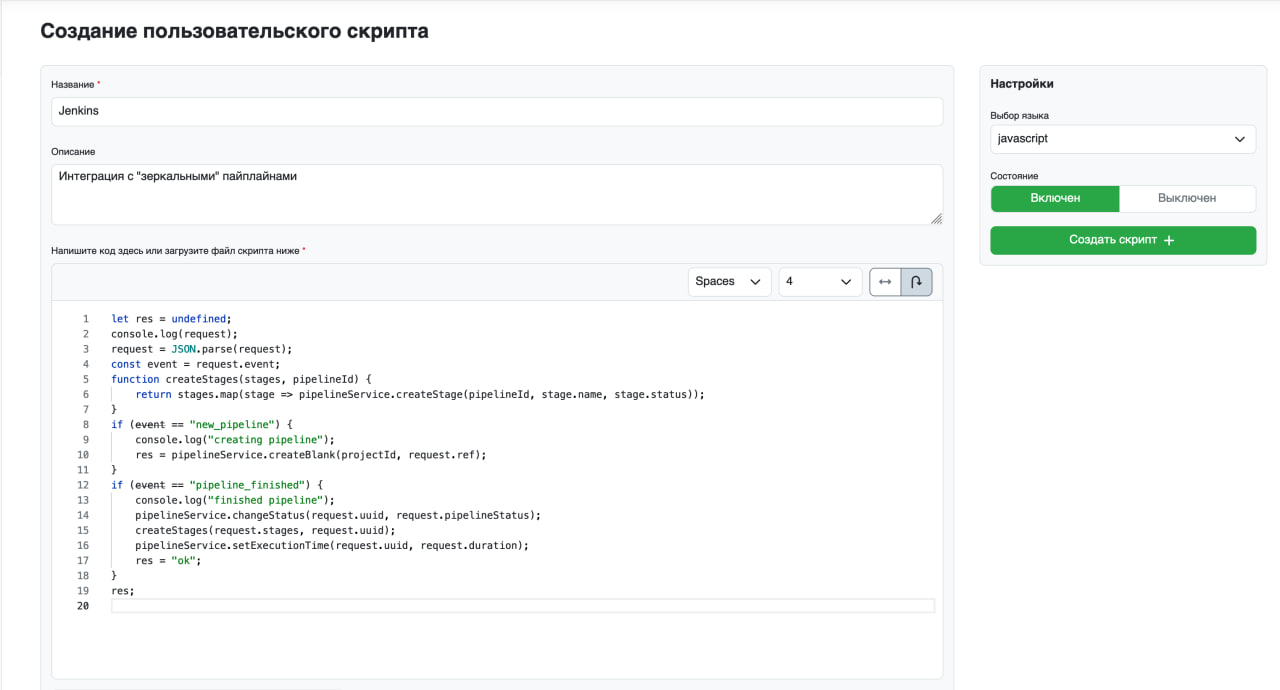
Then specify the name and description, and use the code below as the script:
let res = undefined;
console.log(request);
request = JSON.parse(request);
const event = request.event;

function createStages(stages, pipelineId) {
    return stages.map(stage => pipelineService.createStage(pipelineId, stage.name, stage.status));
}

if (event == "new_pipeline") {
    console.log("creating pipeline");
    res = pipelineService.createBlank(projectId, request.ref);
}

if (event == "pipeline_finished") {
    console.log("finished pipeline");
    pipelineService.changeStatus(request.uuid, request.pipelineStatus);
    createStages(request.stages, request.uuid);
    pipelineService.setExecutionTime(request.uuid, request.duration);
    res = "ok";
}

res;
Click the “Create Script +” button.
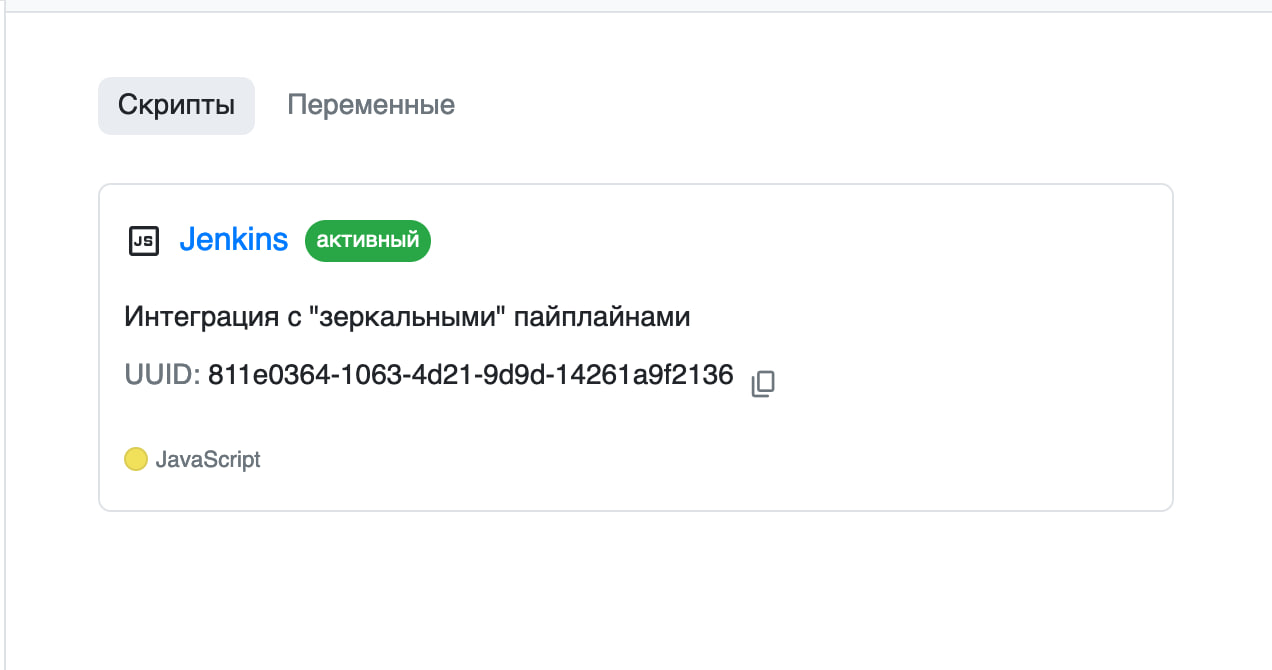
After saving, check that the script is displayed correctly. Copy the script UUID for Jenkins setup.
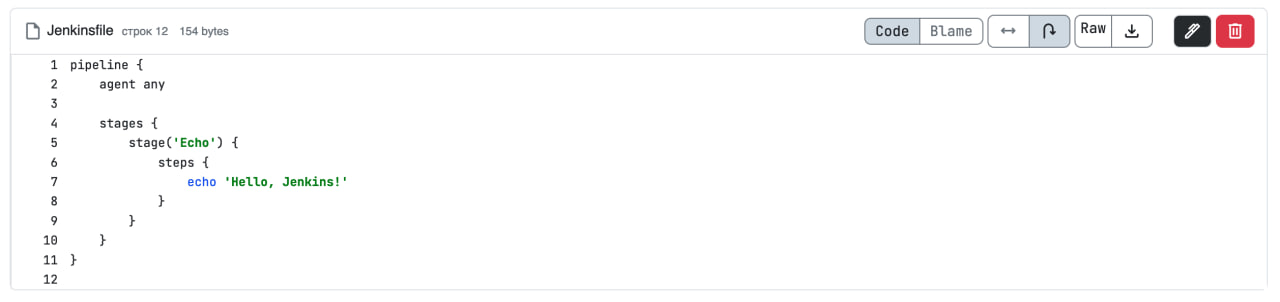
Create a Jenkinsfile in the repository with the following content:
pipeline {
    agent any

    stages {
        stage('echo'){
            steps {
                echo 'hello Jenkins from GitFlic!!! =)'
            }
        }
    }
}
Jenkins Setup
To enable integration, you need to install the following plugins:
Git Credentials Pipeline: multibranch, Groovy events listener plugin.
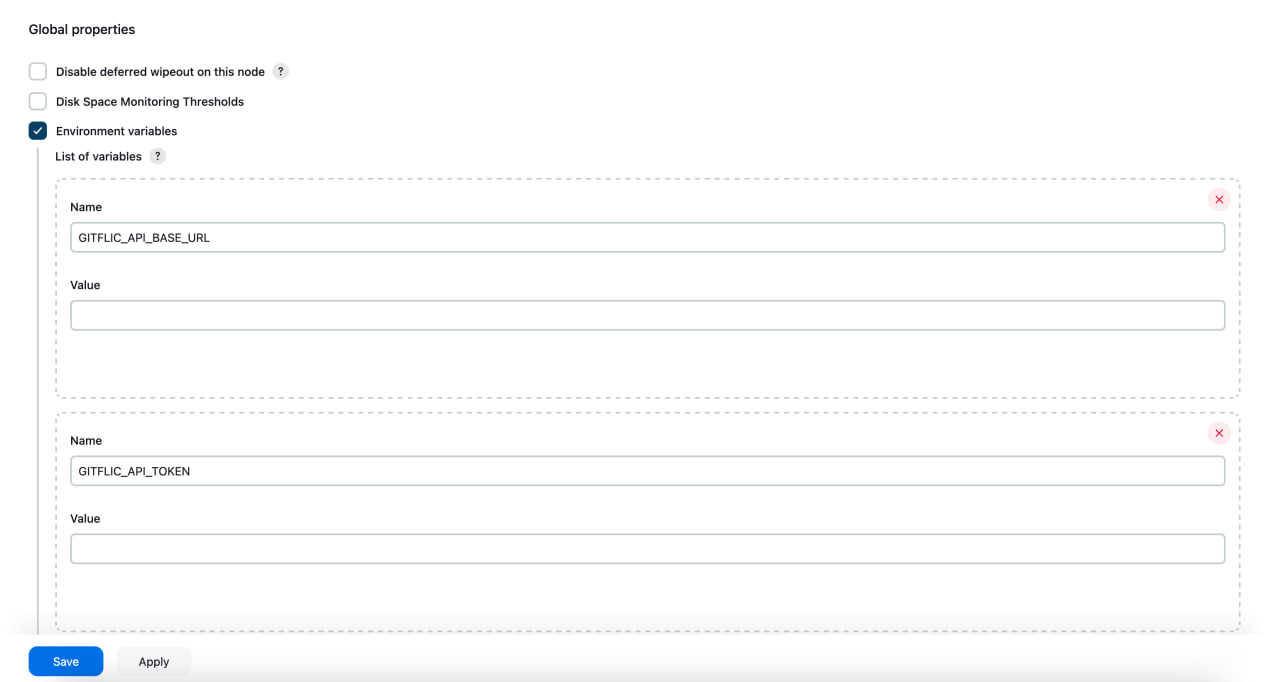
Go to Jenkins settings, in the System section.
On this page, you need to define several global variables:
GITFLIC_API_BASE_URL - main REST API path for GitFlic
GITFLIC_API_TOKEN - GitFlic REST API token
GITFLIC_INTEGRATION_SCRIPT_UUID - UUID of the script you created earlier
GITFLIC_PROJECT_ALIAS - name of the project linked to the script
GITFLIC_PROJECT_OWNER_ALIAS - name of the project owner linked to the script
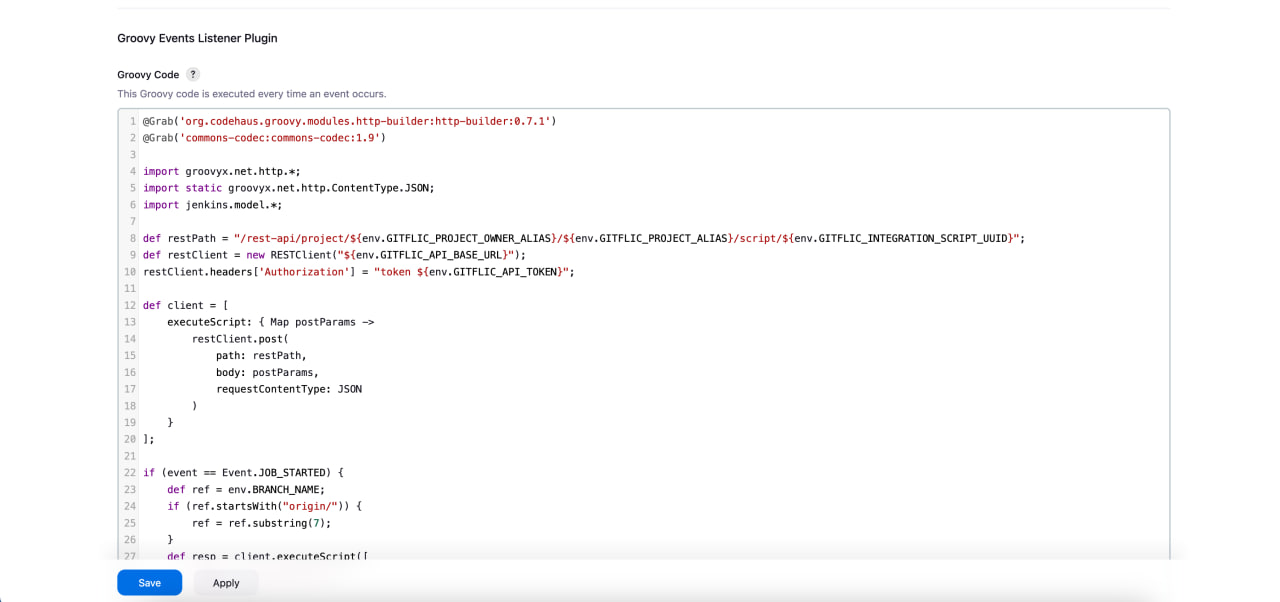
Next, in the Groovy events listener plugin block, write the following code:
@Grab('org.codehaus.groovy.modules.http-builder:http-builder:0.7.1')
@Grab('commons-codec:commons-codec:1.9')

import groovyx.net.http.*;
import static groovyx.net.http.ContentType.JSON;
import jenkins.model.*;

def restPath = "/rest-api/project/${env.GITFLIC_PROJECT_OWNER_ALIAS}/${env.GITFLIC_PROJECT_ALIAS}/script/${env.GITFLIC_INTEGRATION_SCRIPT_UUID}";
def restClient = new RESTClient("${env.GITFLIC_API_BASE_URL}");
restClient.headers['Authorization'] = "token ${env.GITFLIC_API_TOKEN}";

def client = [
    executeScript: { Map postParams ->
        restClient.post(
            path: restPath,
            body: postParams,
            requestContentType: JSON
        )
    }
];

if (event == Event.JOB_STARTED) {
    def ref = env.BRANCH_NAME;
    if (ref.startsWith("origin/")) {
        ref = ref.substring(7);
    }
    def resp = client.executeScript([
        "event": "new_pipeline",
        "ref": ref
    ]);
    if (!context.hasProperty('pipelineUuidByBuildId')) {
        context.pipelineUuidByBuildId = [:];
    }
    if (resp.status / 100 == 2 && resp.data.result == "SUCCESS") {
        context.pipelineUuidByBuildId[env.BUILD_ID] = resp.data.returnedValue.id;
    }
}

if (event == Event.JOB_COMPLETED) {
    if (context.containsKey("pipelineUuidByBuildId") && context.get("pipelineUuidByBuildId").containsKey(env.BUILD_ID)) {
        def runResult = run.getResult();
        def pipelineUuid = context.pipelineUuidByBuildId[env.BUILD_ID];
        context.pipelineUuidByBuildId.remove(env.BUILD_ID);
        def pipelineStatus = getStatus(runResult.toString());

        client.executeScript([
            "event": "pipeline_finished",
            "pipelineStatus": pipelineStatus,
            "uuid": pipelineUuid,
            "stages": getStages(run).collect{ ["name": it.name, "status": getStatus(it.state)] },
            "duration": run.getDuration(),
            "timestamp": run.getTimeInMillis(),
        ]);
    }
}

def getStatus(rawStatus) {
    switch (rawStatus.toUpperCase()) {
        case "SUCCESS": return "SUCCESS";
        case "UNSTABLE":
        case "FAILURE": return "FAILED";
        case "NOT_BUILT": return "SKIPPED";
        case "ABORTED": return "CANCELED";
    }
}

def getStages(run) {
    def plugin = Jenkins.instance.pluginManager.plugins.find({it.getShortName() == "pipeline-graph-view"});
    def classLoader = plugin.classLoader;
    def graphApiClassName = "io.jenkins.plugins.pipelinegraphview.utils.PipelineGraphApi";
    def graphApiClass = classLoader.loadClass(graphApiClassName);
  return graphApiClass.getConstructor(run.class).newInstance(run).createTree().stages;
}
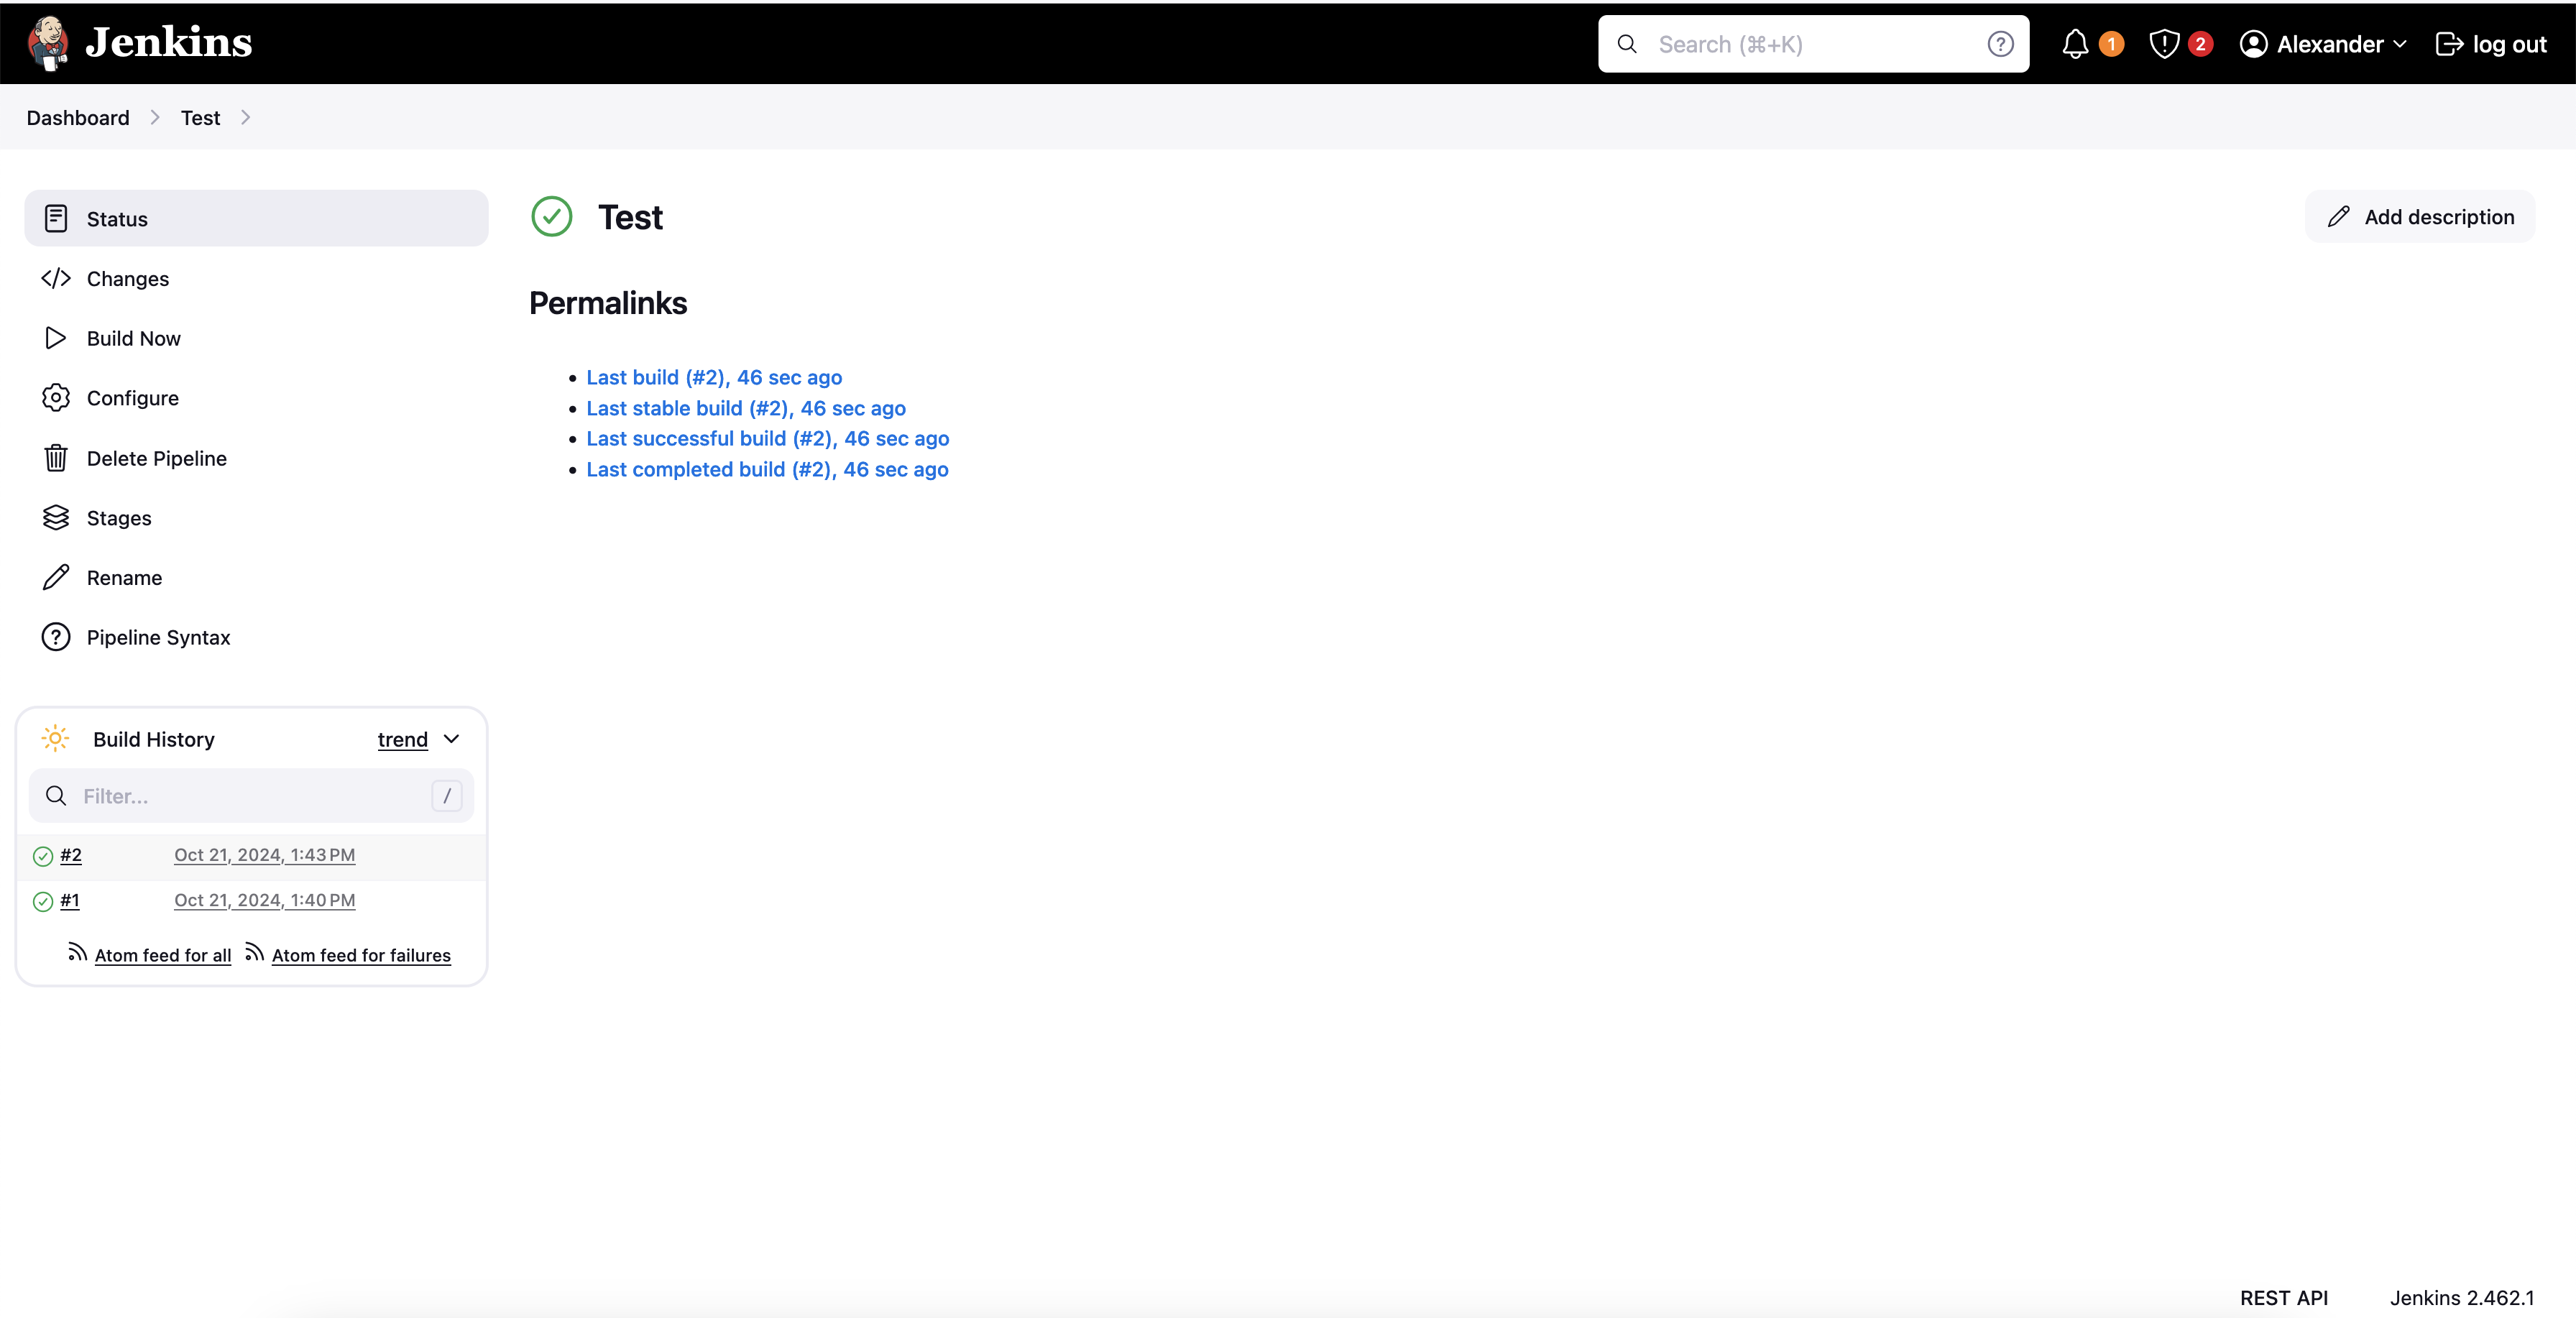
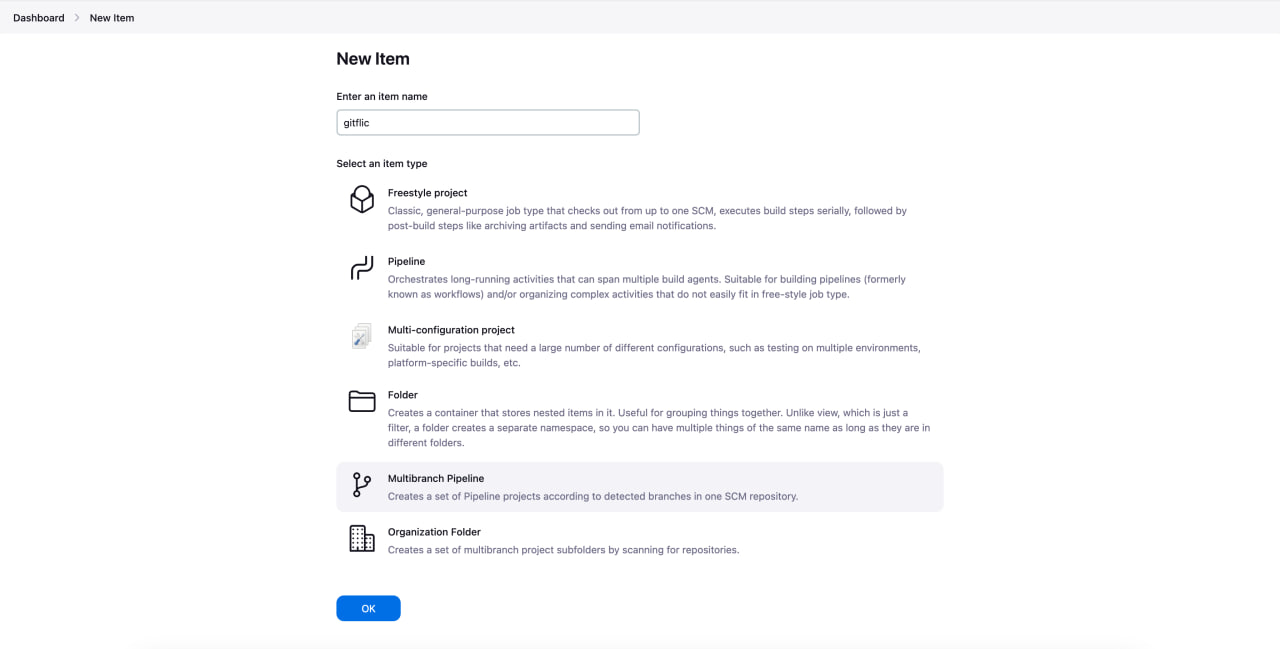
Now create a pipeline in Jenkins.
Go to the main page and add a Multibranch pipeline
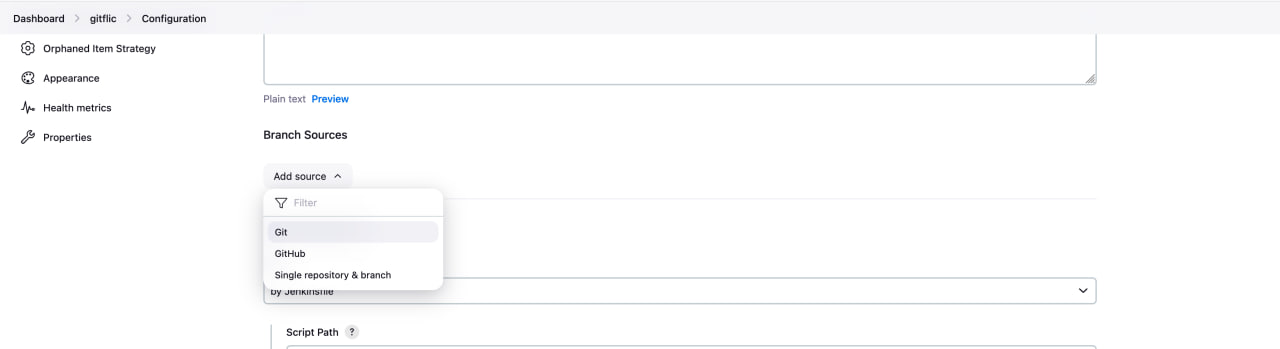
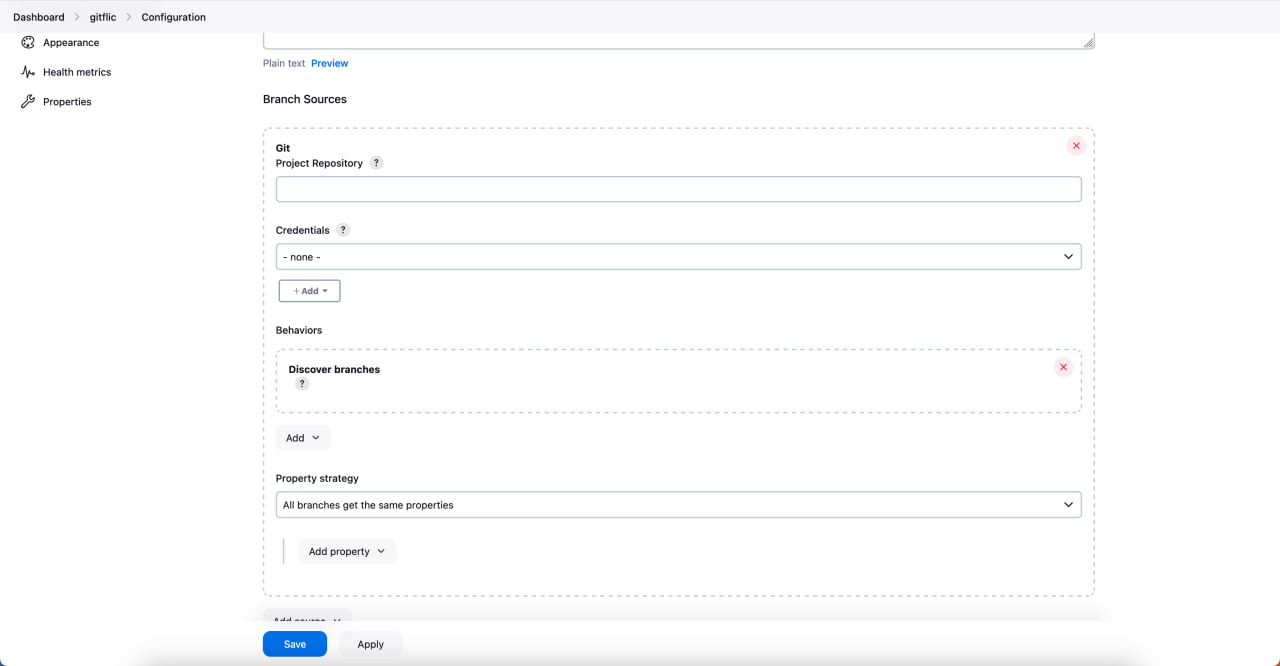
Go to the settings of the new pipeline and add a source as a git repository project in GitFlic
Save and run the pipeline.
At the start of the pipeline execution, a “blank” pipeline will appear in GitFlic.

After the pipeline completes in Jenkins, its status will be updated in GitFlic according to the Jenkins status, and stages and execution time will be added.

Automated translation!
This page was translated using automatic translation tools. The text may contain inaccuracies.