Project Commits Page
All Commits
While working with a project, you can view its commit history and the history for individual branches.
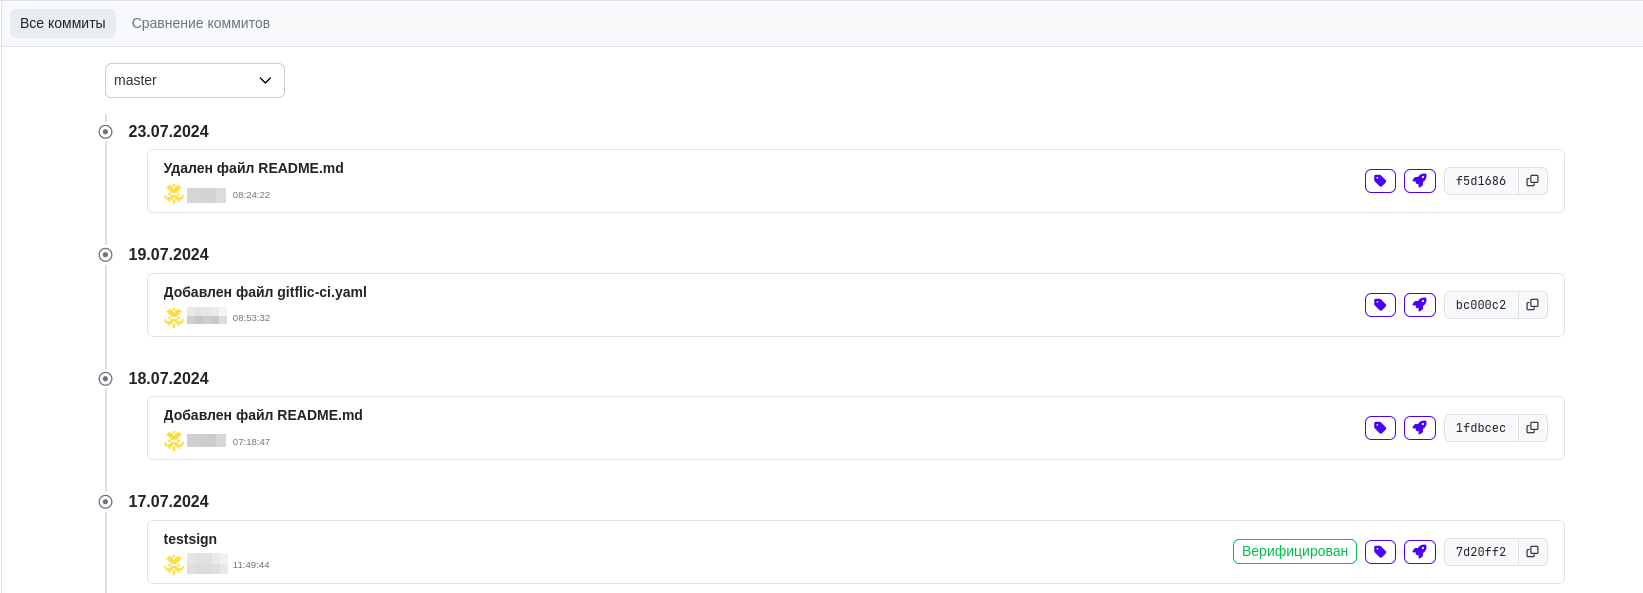
Click on a commit title to view the changes in detail.
Switch between branches to see the complete change history of the project.

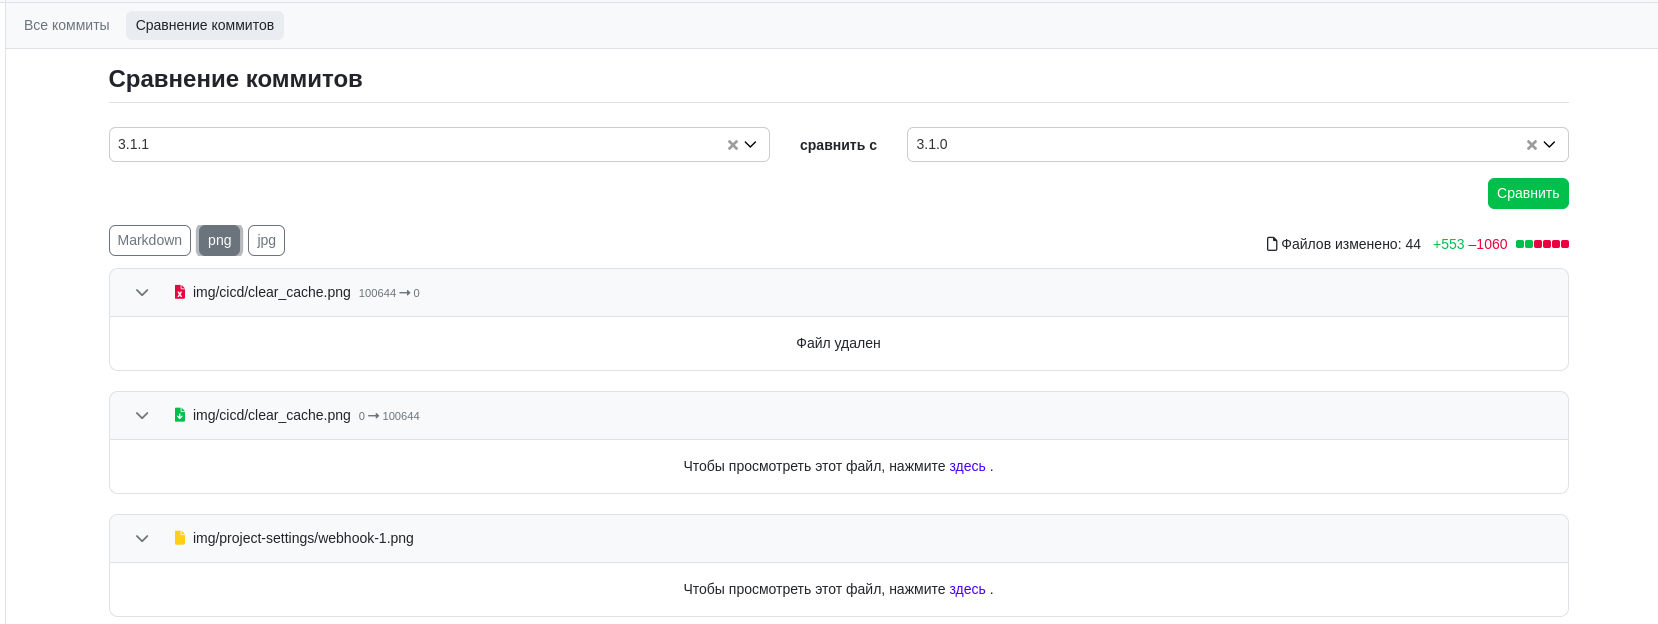
Comparing Commits
On this tab, you can compare changes between commits by specifying their tags or hashes.
Differences in Commit History Display
Using Git, you can view the commit history in a repository in several ways:
- The
git logcommand displays the complete commit history - The
git log <path>command displays the file change history
These two ways of viewing commits may sometimes show different information.
Full Repository History (git log)
The git log command provides a detailed view and displays the history of all commits in the repository, starting from the latest commit. Commits are shown in chronological order, with the newest commit at the top.
File History (git log <path>)
When Git shows the history of a single file (git log <path>), it simplifies the history by skipping commits that did not change the file. Instead of checking every commit for its effect on the file, Git will skip an entire branch if that branch did not affect the file's final contents after merging. Commits in the branch that did affect the file will not be shown.
This makes browsing branches more efficient, as you see only commits that impact the file. However, the simplified view does not always contain all the information you might need.
You can learn more about this by running git help log in the History Simplification section or in the Git documentation.
Example
Let's say we are working in the project project. Add an empty file GitFlic.md to the master branch and commit the changes:
cd project
touch GitFlic.md
(master) > git add GitFlic.md
(master) > git commit "Added empty file GitFlic.md"
Create a branch master -> dev and add some text to GitFlic.md, for example:
GitFlic -
The first Russian platform for working with code.
Commit the changes:
(dev) > git commit "Added information to GitFlic.md"
Now, let's change our mind and make GitFlic.md empty again:
(dev) > git commit "Made GitFlic.md empty"
Merge the dev branch into master and look at the commit logs:
(master) > git log --graph --oneline

* 3ec8251 (HEAD -> master, origin/master) Merged with dev

|\

| * d00f2c9 (origin/dev, dev) Made GitFlic.md empty

| * 1bce7a3 Added information to GitFlic.md

|/

* d701536 Added empty file GitFlic.md
At the same time, viewing the change history of the file will only show one commit — the one containing substantial changes (in this case, the creation of the empty file):
(master) > git log --graph --oneline GitFlic.md

* d701536 Added empty file GitFlic.md
Reverting Commits
You can revert a selected commit by using the button on the right side of the commit in the commit list page.
Reverting is done similarly to the git revert command: a new commit will be created that undoes the changes of the selected commit.
There is also an option to create a new branch for the revert.

After reverting, a new commit titled Revert "