GPG Signatures
GPG (GNU Privacy Guard) signatures provide a secure method to verify the authenticity and integrity of data. Using GPG signatures, you can confirm that data, such as Git commits, was created by the specified author and hasn't been altered since creation. This is particularly important in software development, where confirming code authorship and protecting against unauthorized modifications is crucial.
Installation
To use GPG, you need to install the gpg1 software package.
Visit the official GnuPG website and download the installer for Windows: GnuPG for Windows.
sudo apt install gnupg1
- Install Homebrew
- Use Homebrew to install:
brew install gnupg1
Verification
To verify that gpg1 is installed, run the following command:
gpg --version
Generating a GPG Key
To generate a GPG key, run the command gpg1 --gen-key in the terminal and provide the required parameters. The following settings are recommended:
- Key type: RSA (default).
- Key length: 2048 (default).
- Expiration: Set at the user's discretion; leave empty for a non-expiring key.
- Personal details: For the real name, use your GitFlic username (e.g.,
adminuser). For the email, use your GitFlic email (e.g.,adminuser@admin.local). - Comment: Optional.
- Password: Required for signing commits; leave empty for a passwordless key.
After entering all parameters, the key will be generated. The GPG key details will be displayed in the terminal.
Selecting a Key for Signing
After generating the key, retrieve its fingerprint (FINGERPRINT) to specify it in git config. The fingerprint is usually displayed in the key information. Copy it for further use, removing any spaces if present.
Key Fingerprint
If you missed the displayed FINGERPRINT, run the following command to retrieve it:
gpg1 --fingerprint
Configure git config with the following commands in the terminal:
git config gpg.program gpg1git config --global user.signingkey FINGERPRINT
ReplaceFINGERPRINTwith your GPG key's fingerprint.git config --global user.name userAlias
ReplaceuserAliaswith your GitFlic username, which must match the name used during GPG key generation.git config --global user.email userEmail
ReplaceuserEmailwith your GitFlic email, which must match the email used during GPG key generation.
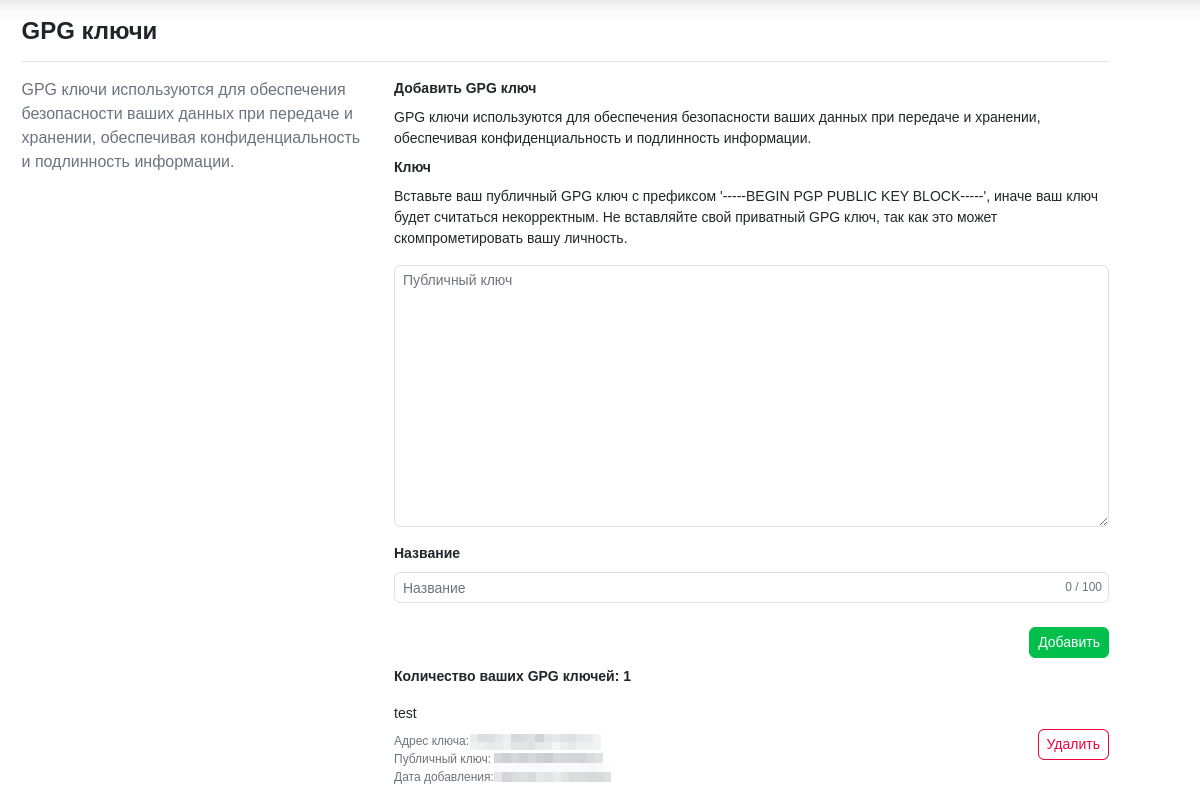
Next, export the public GPG key by running:
gpg1 --armor --export your@mail.org or gpg1 --armor --export FINGERPRINT
Save the exported public key in Profile Settings -> Keys.
Keys with Multiple Owners
Note that keys with two or more owners are not allowed.
Subkeys
GitFlic supports subkeys. To begin, retrieve the subkey fingerprint:
gpg1 --list-secret-keys --with-subkey-fingerprint
Specify the subkey fingerprint in git config:
git config --global user.signingkey FINGERPRINT
Then, export the generated GPG key:
gpg1 --armor --export FINGERPRINT
Save the public key in Profile Settings -> Keys.
Using GPG Signatures
To sign a commit with your GPG key, use the command:
git commit -S -m "commit message"
The -S flag instructs Git to sign the commit with your GPG key. You will be prompted to enter the GPG key password.
To enable automatic commit signing, run:
git config --global commit.gpgSign true
Signing Web Interface Commits
Starting from GitFlic version 4.2.0, all commits made via the web interface will be automatically signed with a generated GPG key. Information about this key is stored in the Admin Panel.
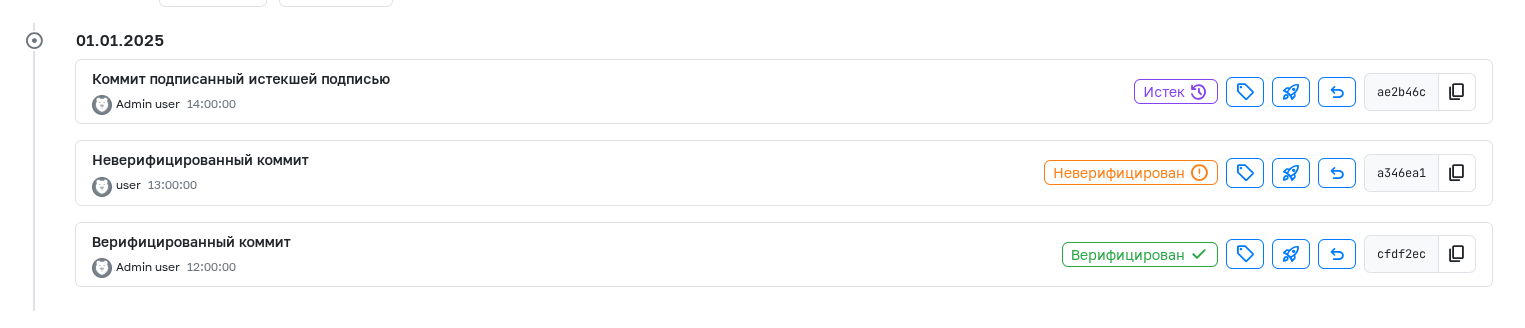
Once all steps are completed, commits in the service interface will display a "Verified" label.
If the GPG key is incorrectly linked to your profile, you will see an "Unverified" label. Clicking it will provide details for correcting the linkage.
If a commit is signed with a key that has been removed from the user's profile or has expired, it will display an "Expired" label.
Automatic Translation!
This page was automatically translated. The text may contain inaccuracies